
A few years back I was hit by Murphy and I was hit hard.
It was the time when you had to be very patient and even somewhat lucky if you wanted to buy a Buffalo DAC. You had to wait for the boards to go on sale and then be quicker than the other (equally “DAC hungry”) DIYers for the privilege of owning one.
I had just gone through all of that trouble and had managed to acquire a brand new Buffalo III board. I remember it like it was yesterday, even though it’s already been more than 5 years. I had it connected to my bench top power supply and was just doing a dry-run, I hadn’t even built the IVY-III yet, looking to see that everything was working as it should, when all of a sudden the lights on the Tridents all went very bright for half a second and then the magic smoke escaped. My power supply’s regulator IC had chosen the worst possible time to kick the bucket. Cost of repairing the power supply: ~1€. Cost of getting a new B3: ~400€ plus another 2 months of waiting.
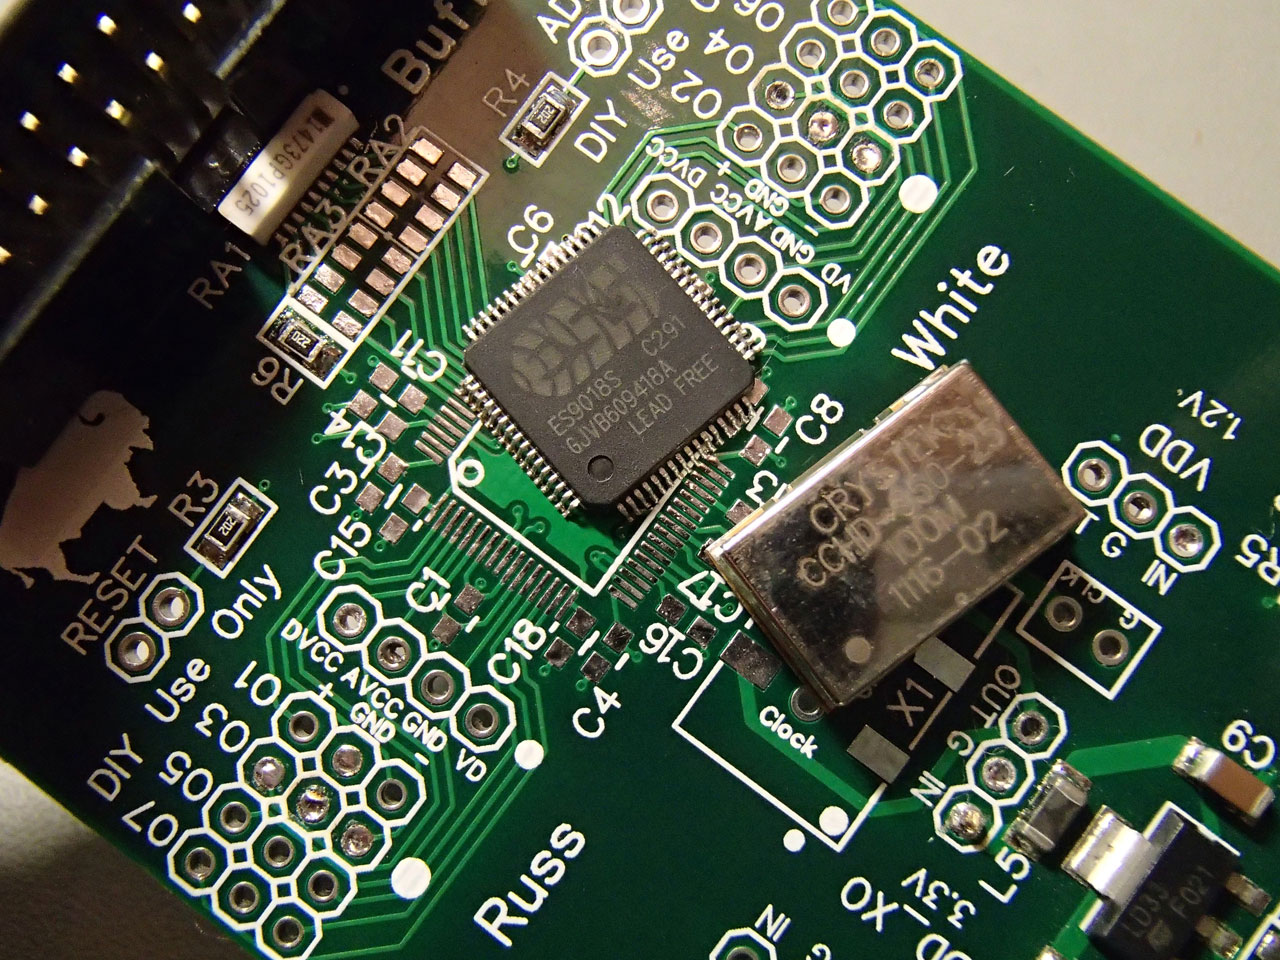
An autopsy of the damaged board confirmed my suspicions: Almost every active component on the board was gone. Besides the Tridents and the AVCC module, the ES9018S and the Crystek clock were toast. The only components that survived were the ones behind the 3.3V regulator, which proved to be resilient enough to withstand the ~35 volts that were fed to it. So the cost of repair would be prohibitive, especially considering that I couldn’t find anyone that would sell a single ES9018S chip. So the bad board went into a cardboard box and lay there for close to 5 years.
Fast forward to 2016. ESS announces the successors to the ES9018S, the ES9028Pro & ES9038Pro chips.

These chips have a brand new digital core, much improved from the ES9018. There are new digital filters, a new DPLL system, new THD compensation features, a new gain compensation function, etc.
The ES9028Pro is supposed to be an ES9018S with an updated digital core, while the ES9038Pro is supposed to be an ES9028Pro with 4 times the output stages, resulting in an extreme output current capability. This very high current would be the reason why its DNR and THD+N performance would be off-the-charts. But it also meant that all of the existing I/V stages that were designed for the ES9018 would not work for the ES9038Pro. As of this writing, neither Twisted Pear Audio or Acko have on offering proper I/V analog stages.
I made this little table to give you a better idea of the differences between the old and new chips:
[table “” not found /]* up to 13
** most likely an error in the datasheet
This info comes from the official brochures that are available on-line, with some additional info from the NDA-protected “full” datasheets. ESS, if you are reading this (and you probably are), there really is no point in trying to keep these datasheets secret. If someone like me (with my non-existant connections) can find them, so can your competitors. Plus I can’t really say that I found any content in your datasheets that would warrant such extreme measures. But I digress.
So, upon inspection of the datasheets the first thing one notices is that both new chips are pin to pin compatible with the ES9018S. That was just too convenient for me and my bad Buffalo board. Good job ESS, I really appreciated that. 🙂 🙂
On the software side, things were very different to the ES9018S. The number of registers had more than doubled (48 registers in the ES9018 versus 115 in the ES9028/38) plus their arrangement was totally different, so I would need to do a total rewrite of the code to support it. Good. More fun to be had. 😀
So now a lightbulb had lit up in my head. I didn’t have much to lose – I already had the board, I could hook up temporary power supplies and a temporary clock so all I had to buy was the actual chip. Considering that I would like to be able to use my existing analog stage, I chose to go with the ES9028Pro. I got on Ebay and ordered a couple (a friend had also decided to bite the proverbial bullet and do the same “mod” to his Buffalo).
Next up was power requirements. The required voltages are the same but the required current has doubled or even tripled, depending on which chip we are talking about. That could be a problem for the AVCC module and Tridents of the Buffalo 3. I needed to do some reading-up on the AVCC & Trident modules. It turns out that the Trident modules are capable of supplying up to 100mA of power (with the proper CCS resistors) so in theory they could be made to work. But my (burnt) Tridents were v1.1, meaning that they were not exactly famous for their robust-ness. Asking them to work near their thermal limits would be looking for trouble. Plus, while researching the Tridents I learned of their latest version, the Trident SR. These now use ultra low noise LDOs (ADM715x) and are rumoured to sound even better than their older shunt types. These days my ultra low noise LDO of choice is the LT3042 so I drew up a set of PCBs that would be a drop-in replacement for the Tridents & AVCC and made an order to a well-known Far East board house.
While waiting for the chips to arrive I had put together some Arduino code that would initialize the chip and provide some basic functionality. It was nothing special – serial port only – but it would get the job done.
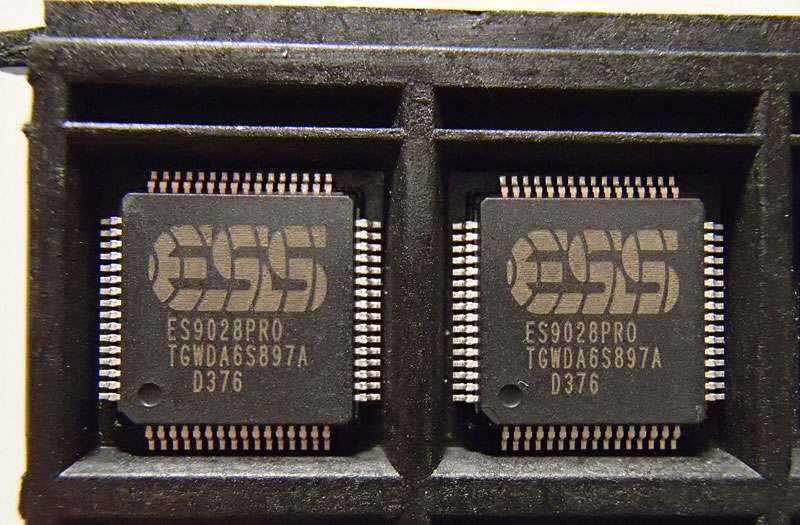
After a few days the ES9028Pro chips came and there was no way I was going to wait another month for the new Tridents.
Off came the damaged components..
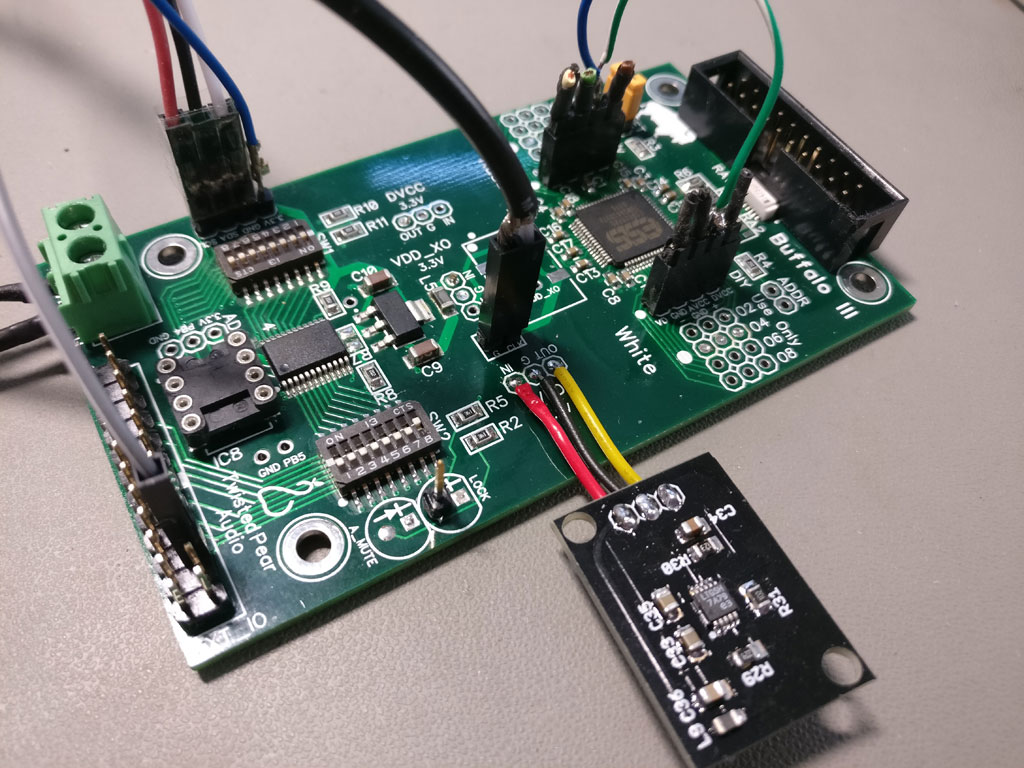
..to be replaced by fresh capacitors and the brand new ES9028Pro.
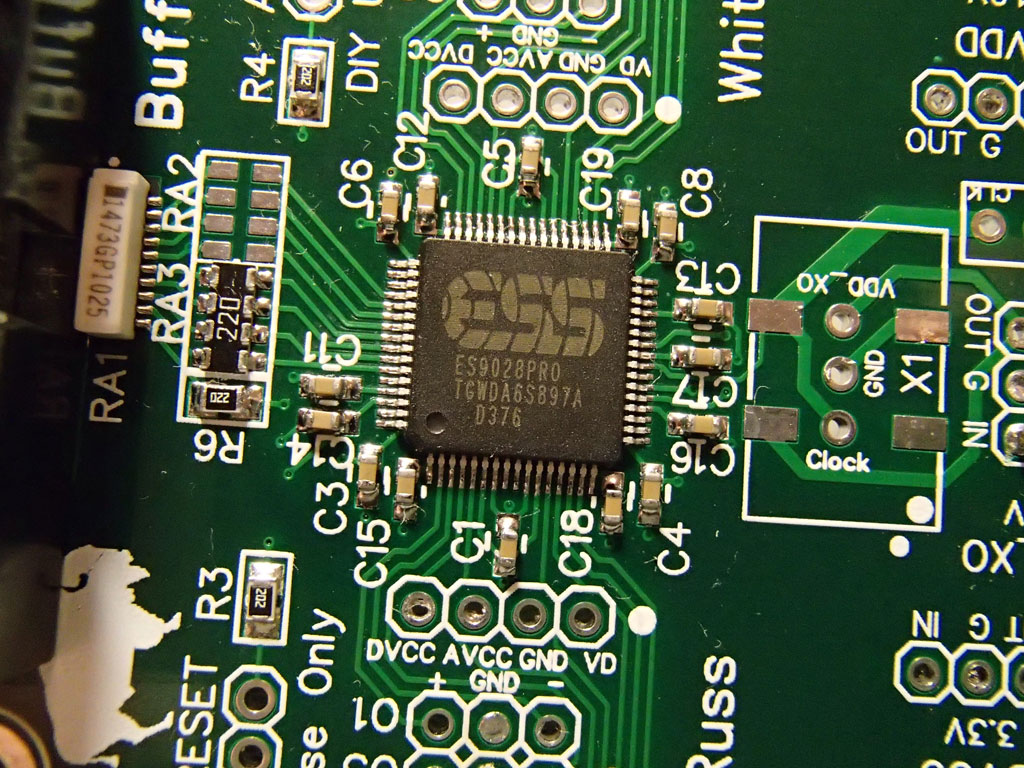
For the time being I chose to not solder on a new Crystek since I could not be 100% sure that the board would work.
Instead, I soldered on a two pin header to which I connected an Si570 programmable oscillator that I had lying around.
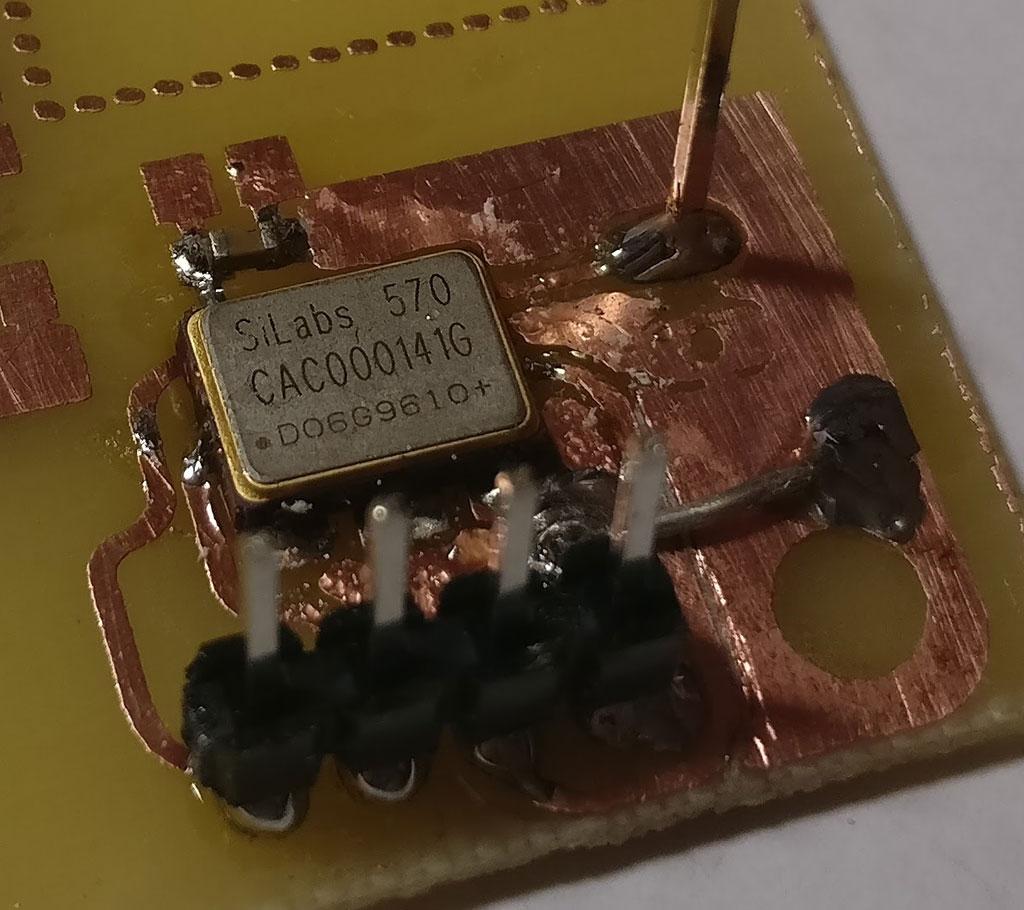
Power was to be delivered by the on-board die-hard 3.3V LDO with a little help from a small PCB holding a LT3042 taking care of the 1.2V.
I hooked everything up, connected my Arduino, powered the thing on and loaded an I2C scanner on my Arduino. I did a scan and found a single I2C address. That was not good. I should have found two (one for the on board port expander and one for the ES9028). I double checked my connections, my power, made sure that my Si570 was outputting a proper clock, but still nothing. It was time to go back to the datasheet.
My eye fell on the section pertaining to the Reset pin. It stated that it was an active-low pin and that a system reset could be performed either by pulling the pin low or by a software command. The Buffalo III design called for this pin to be pulled low by default so I hadn’t paid any real attention to it. It turned out that I should have. I soldered a 2 pin header and put a jumper on it. The board immediately came alive and was detected by my I2C scanner. 😀 So, the Reset pin should be pulled up.
With that out of the way, I connected my test I2S source (a Chinese clone of an Amanero – not as good as an original Amanero but OK for testing and pretty expendable). The DAC locked with no problem into all sampling rates up to 352K and DSD128 (I didn’t bother to try to go higher) and started playing music!
Now I’m waiting for the new replacement Tridents & AVCC module PCBs to arrive so that I can do a proper test vs. my Buffalo III.
I also need to do a version of my TFT HiFiDuino code for the 9028/9038. Stay tuned.
Pingback: ES9028Pro power wows | Dimdim's Blog
Congratulations – again great work!!
Do you plan a dual mono version with two Buffalos-Boards?
Thank you Tomas! 🙂
A dual mono version with 9028s doesn’t really make much sense since the 9038 exists and it has twice the current output of two 9028s. Also IMHO a dual mono version with 9038s is totally overkill.. 😛
Pingback: TFT HiFiDUINO Pro update.. | Dimdim's Blog