
I know what you’re thinking. What the heck is a ball screw and what am I doing with one.
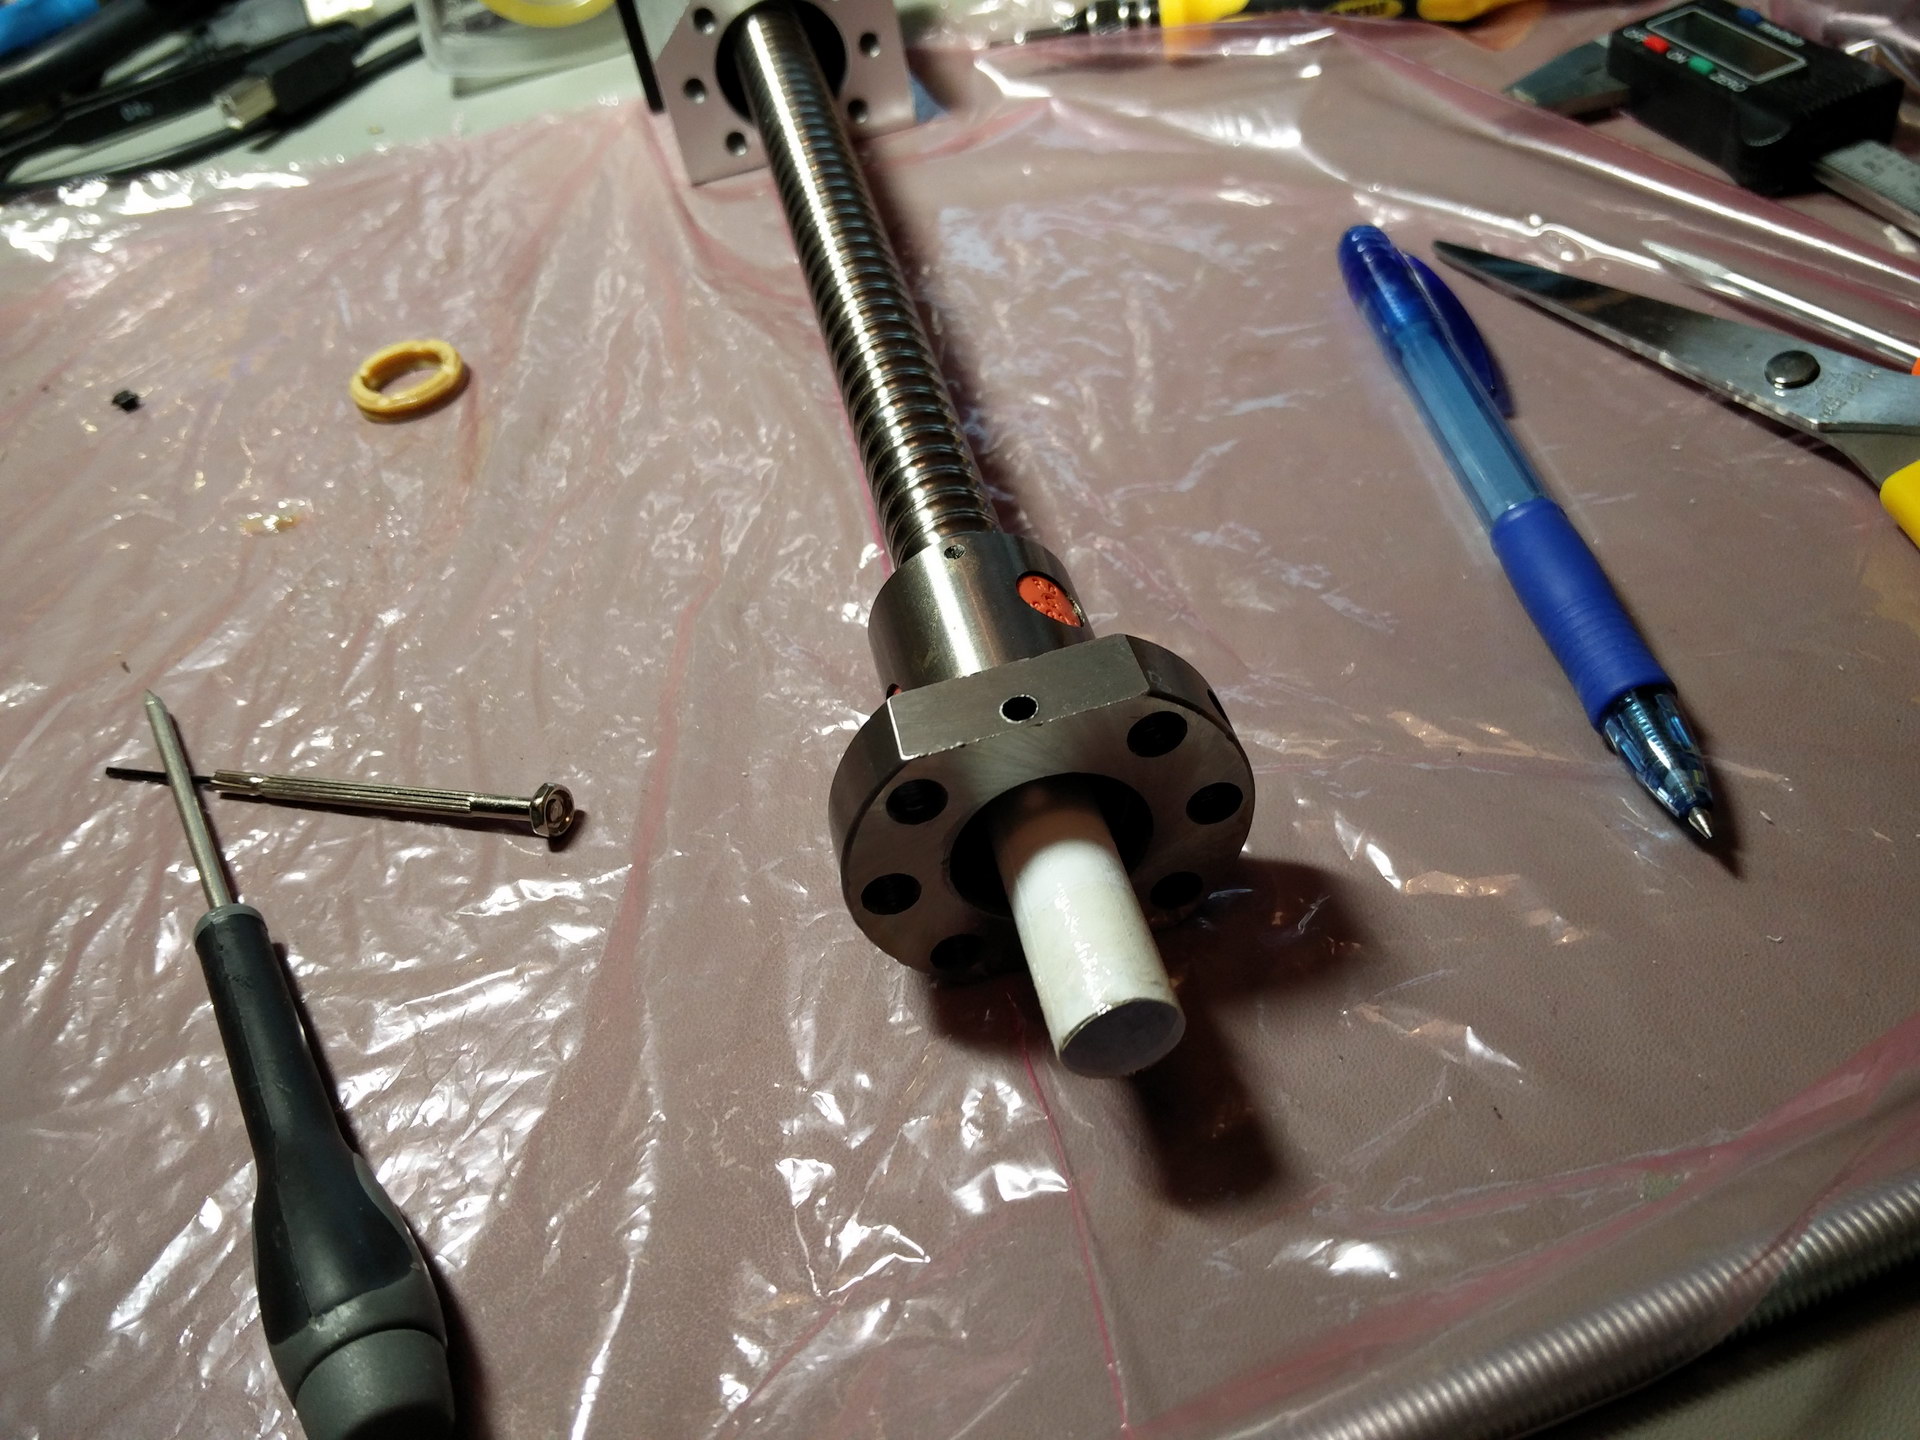
This is a ball screw, complete with ball nut and supports:
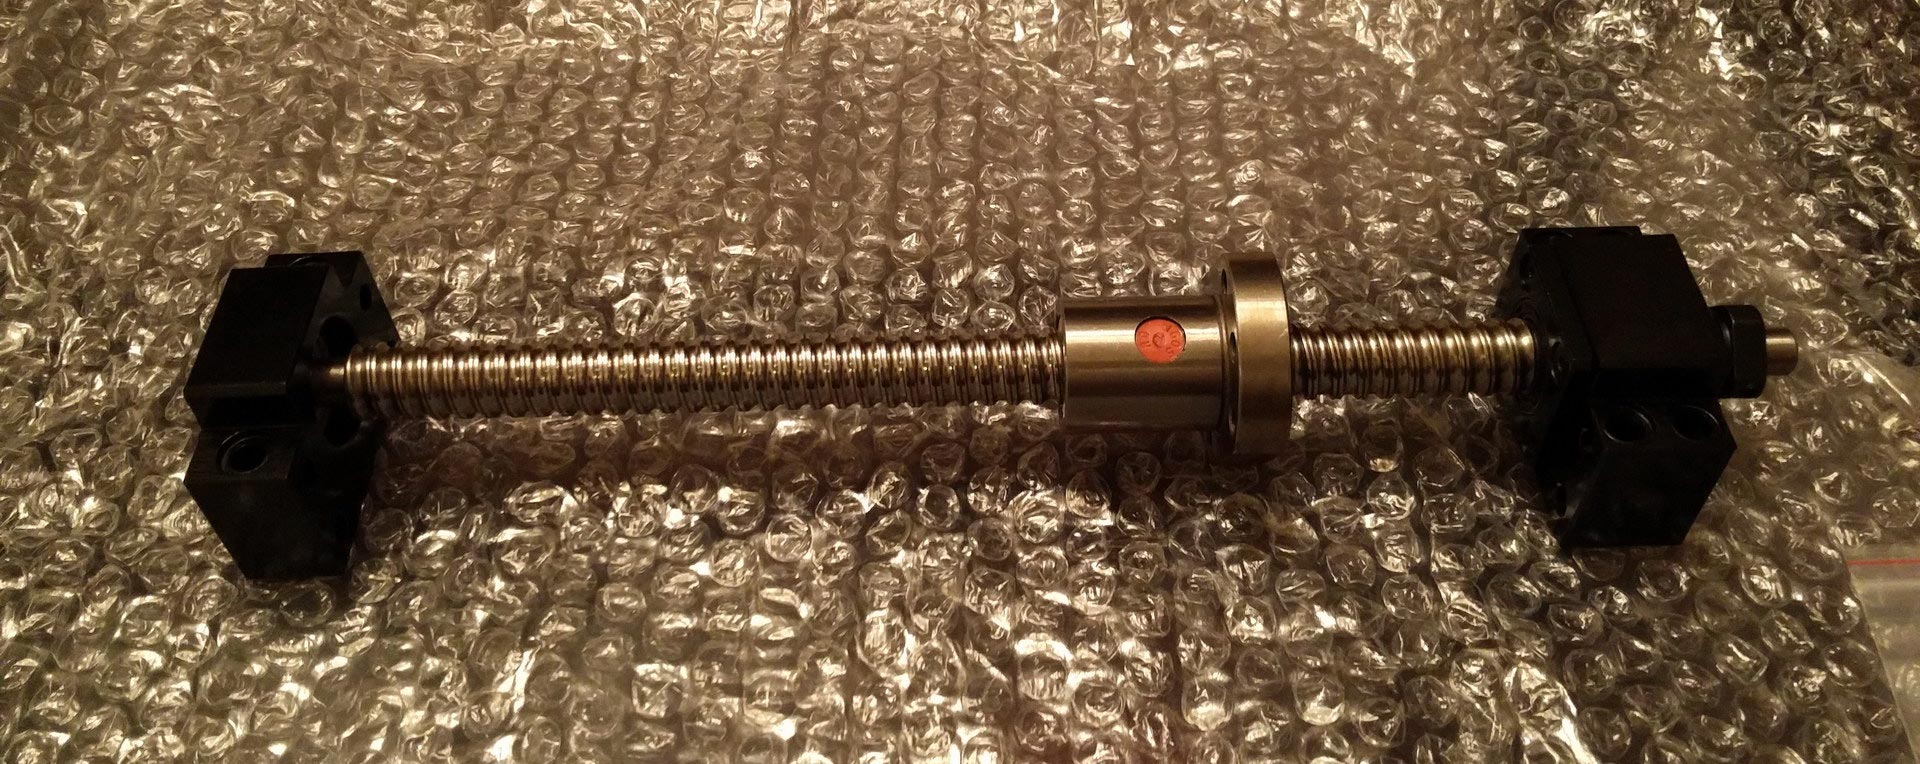
What a ball screw does is convert rotational motion (like from a motor) to linear motion (movement, like front-to-back). Looking at the picture above it is pretty simple to see how that works.
The ball nut contains a number of ball bearings that are used to minimize friction and pretty much eliminate “backlash” (slop).
The screw rotates, but the nut is bolted on to some other surface so it can not turn. Instead it “travels” along the length of the ball screw.
I know that so far I haven’t really given you much useful info, at least nothing that you can’t find on Wikipedia, but bear with me.
Ball screws can get very expensive, if you buy them from the local market, so I opted for a Chinese one off of Ebay. The upside is the cost – the downside is the varying build quality. This particular ball screw had one issue: One of its ends was a very tight fit into the support’s bearing and when I say very tight I mean that I actually had to hammer it in. I know, not the best thing to do to a precision mechanical part, but that is what I had to do. Problem is, the next day I realized that I had forgotten to put in my nut housing. As Murphy would dictate, to put it in I would have to disassemble the tight side of the support. After some swearing and kicking of things, I began to examine my options. I could hammer the ball screw out of its support but I didn’t feel like putting the bearings through yet another ordeal. My other option was to unscrew the ball nut, put in the nut housing and then screw the ball nut back on. Sounds simple, right? Wrong! The problem is the bearings inside the ball nut. These bearings have no support. There is nothing keeping them from dropping out of the ball nut once I have taken it off the ball screw. Knowing that, I looked for a way to put the thing back together properly. Sure enough, I came across this video:
Everything shown on this video is spot-on. You should definitely count your balls and split them into groups of equal number of balls. Getting the first set of balls in is pretty easy. The problems start once you have completed the first set. Now you have a somewhat functioning ball nut. It will rotate with one set of balls, but you need to put in the other sets too.
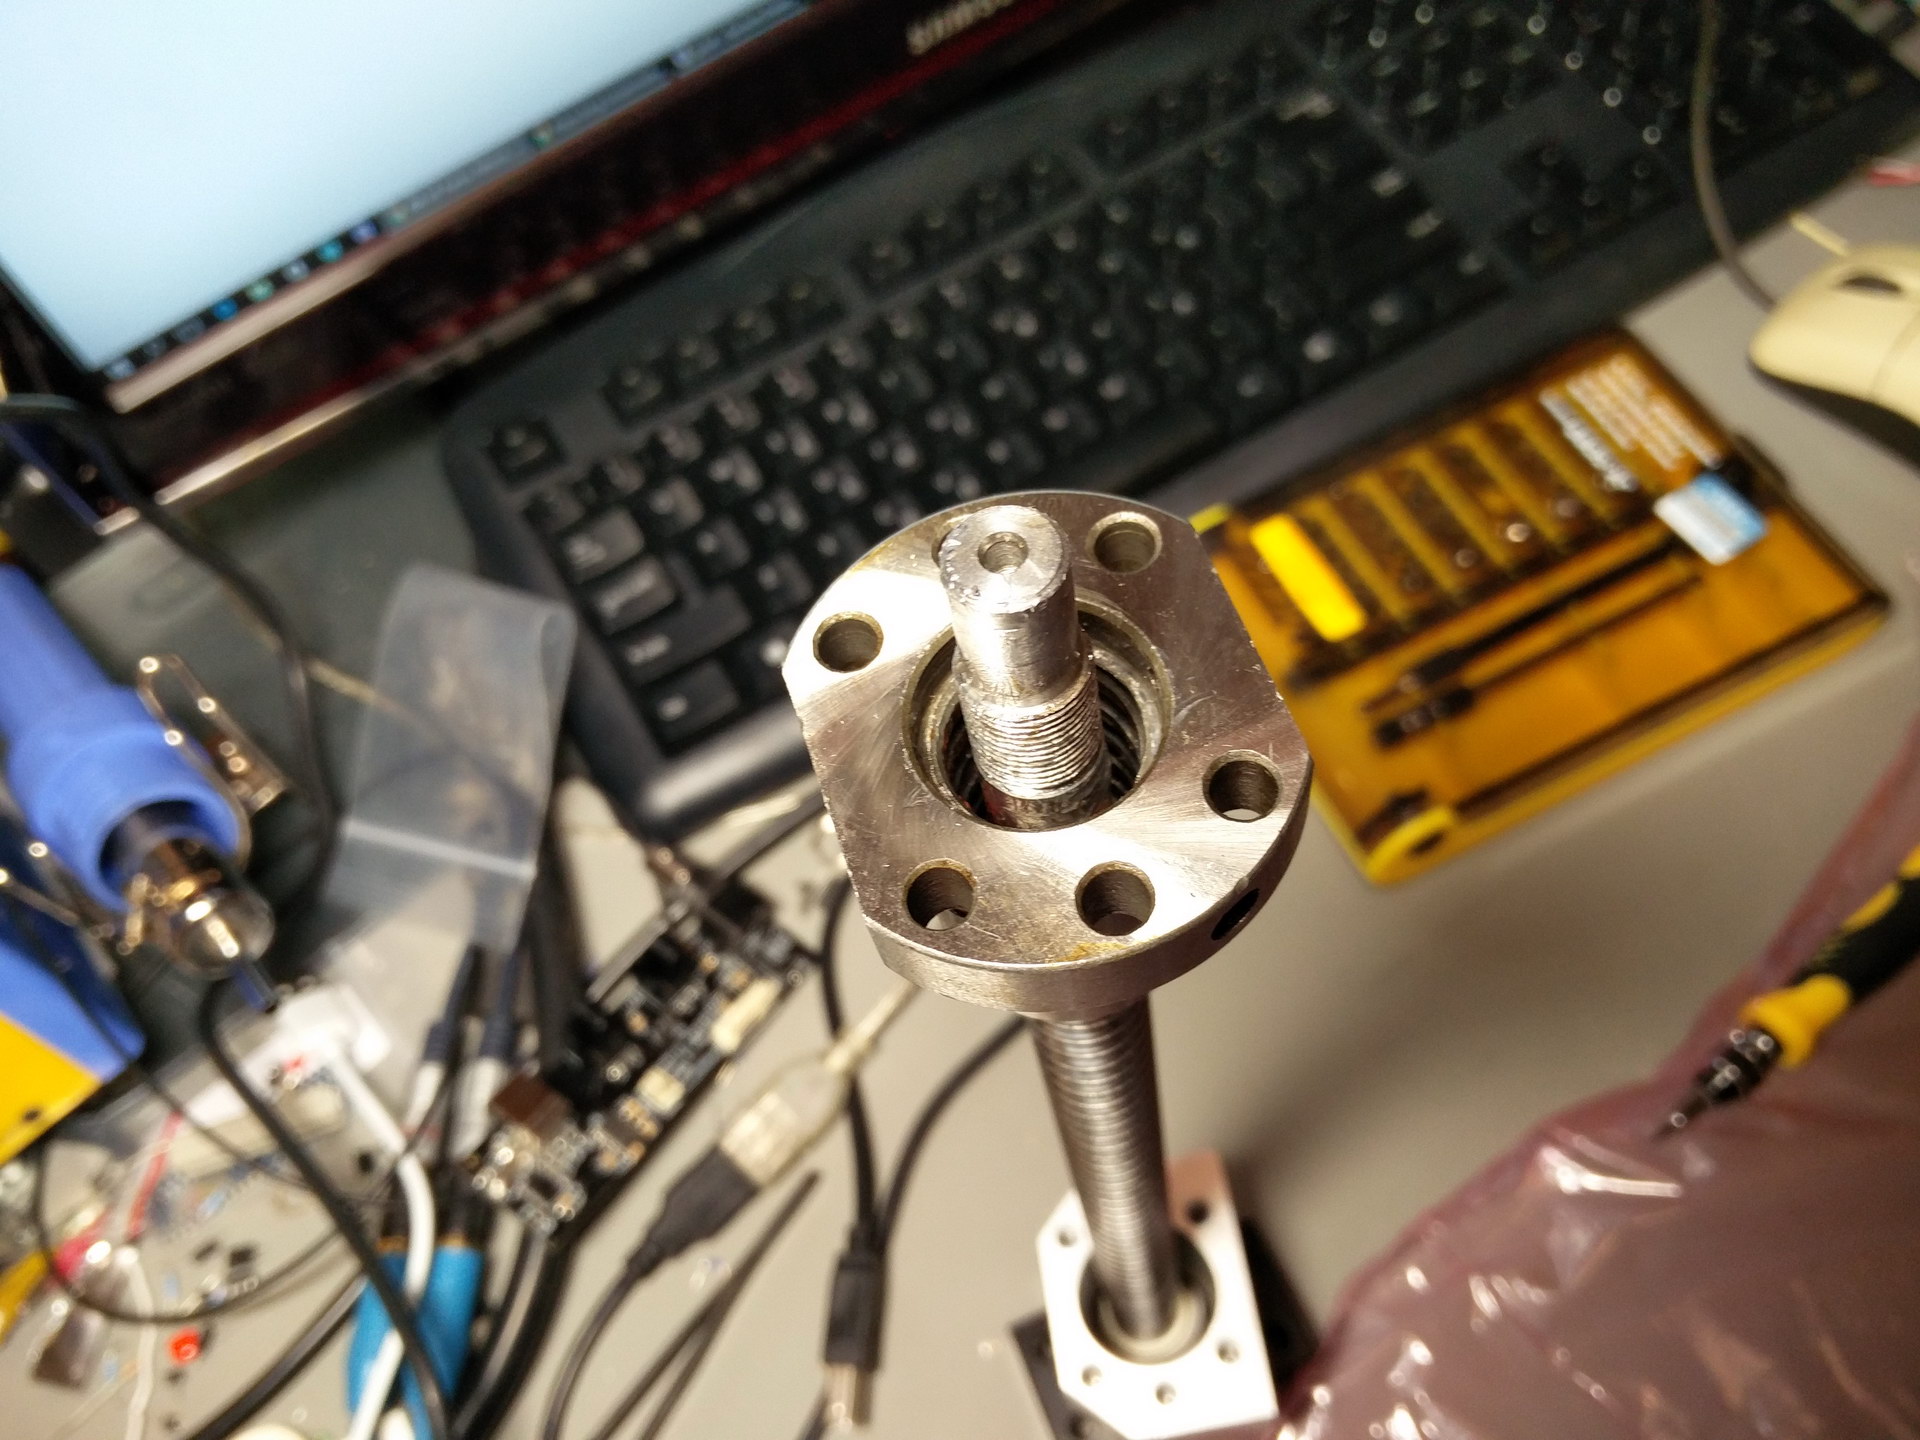
When you try putting in the second set of balls, you will realize that you can not. The machined end of the ball screw is blocking the way. You need another strategy.
I looked far and wide for a solution (ok, I Googled it for like 10 minutes). What you need is a tube that has the proper outside diameter to keep the balls supported inside the ball nut, but also has a proper inside diameter to allow the ball screw’s end to go through it so that it can enter the ball nut.
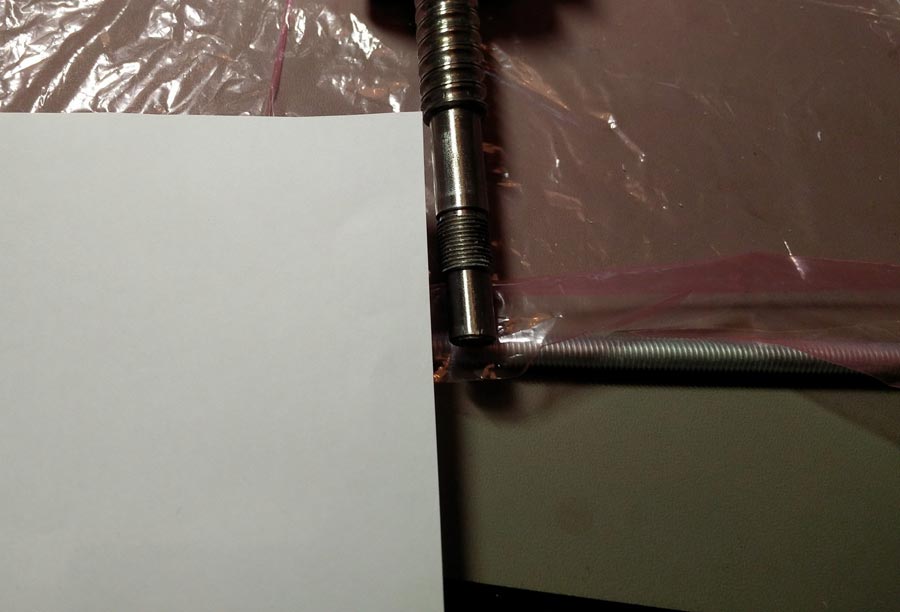
Some people went as far as machining new parts to aid in this procedure. I did not have that luxury, so I looked around the house for a proper tube. I came close with an old flashlight, but its diameter proved to be slightly too big. By that time I was beginning to regret ever having unscrewed the ball nut, but then it hit me: All I had to do is wrap some paper a few times around the shaft and use some tape to make a custom tube.
I then inserted my tube into the ball nut and proceeded to feed the balls. I did the first set, then the second, and then the third. I had to be careful since the tube was flexing a bit. Still, I got it right on the first try.
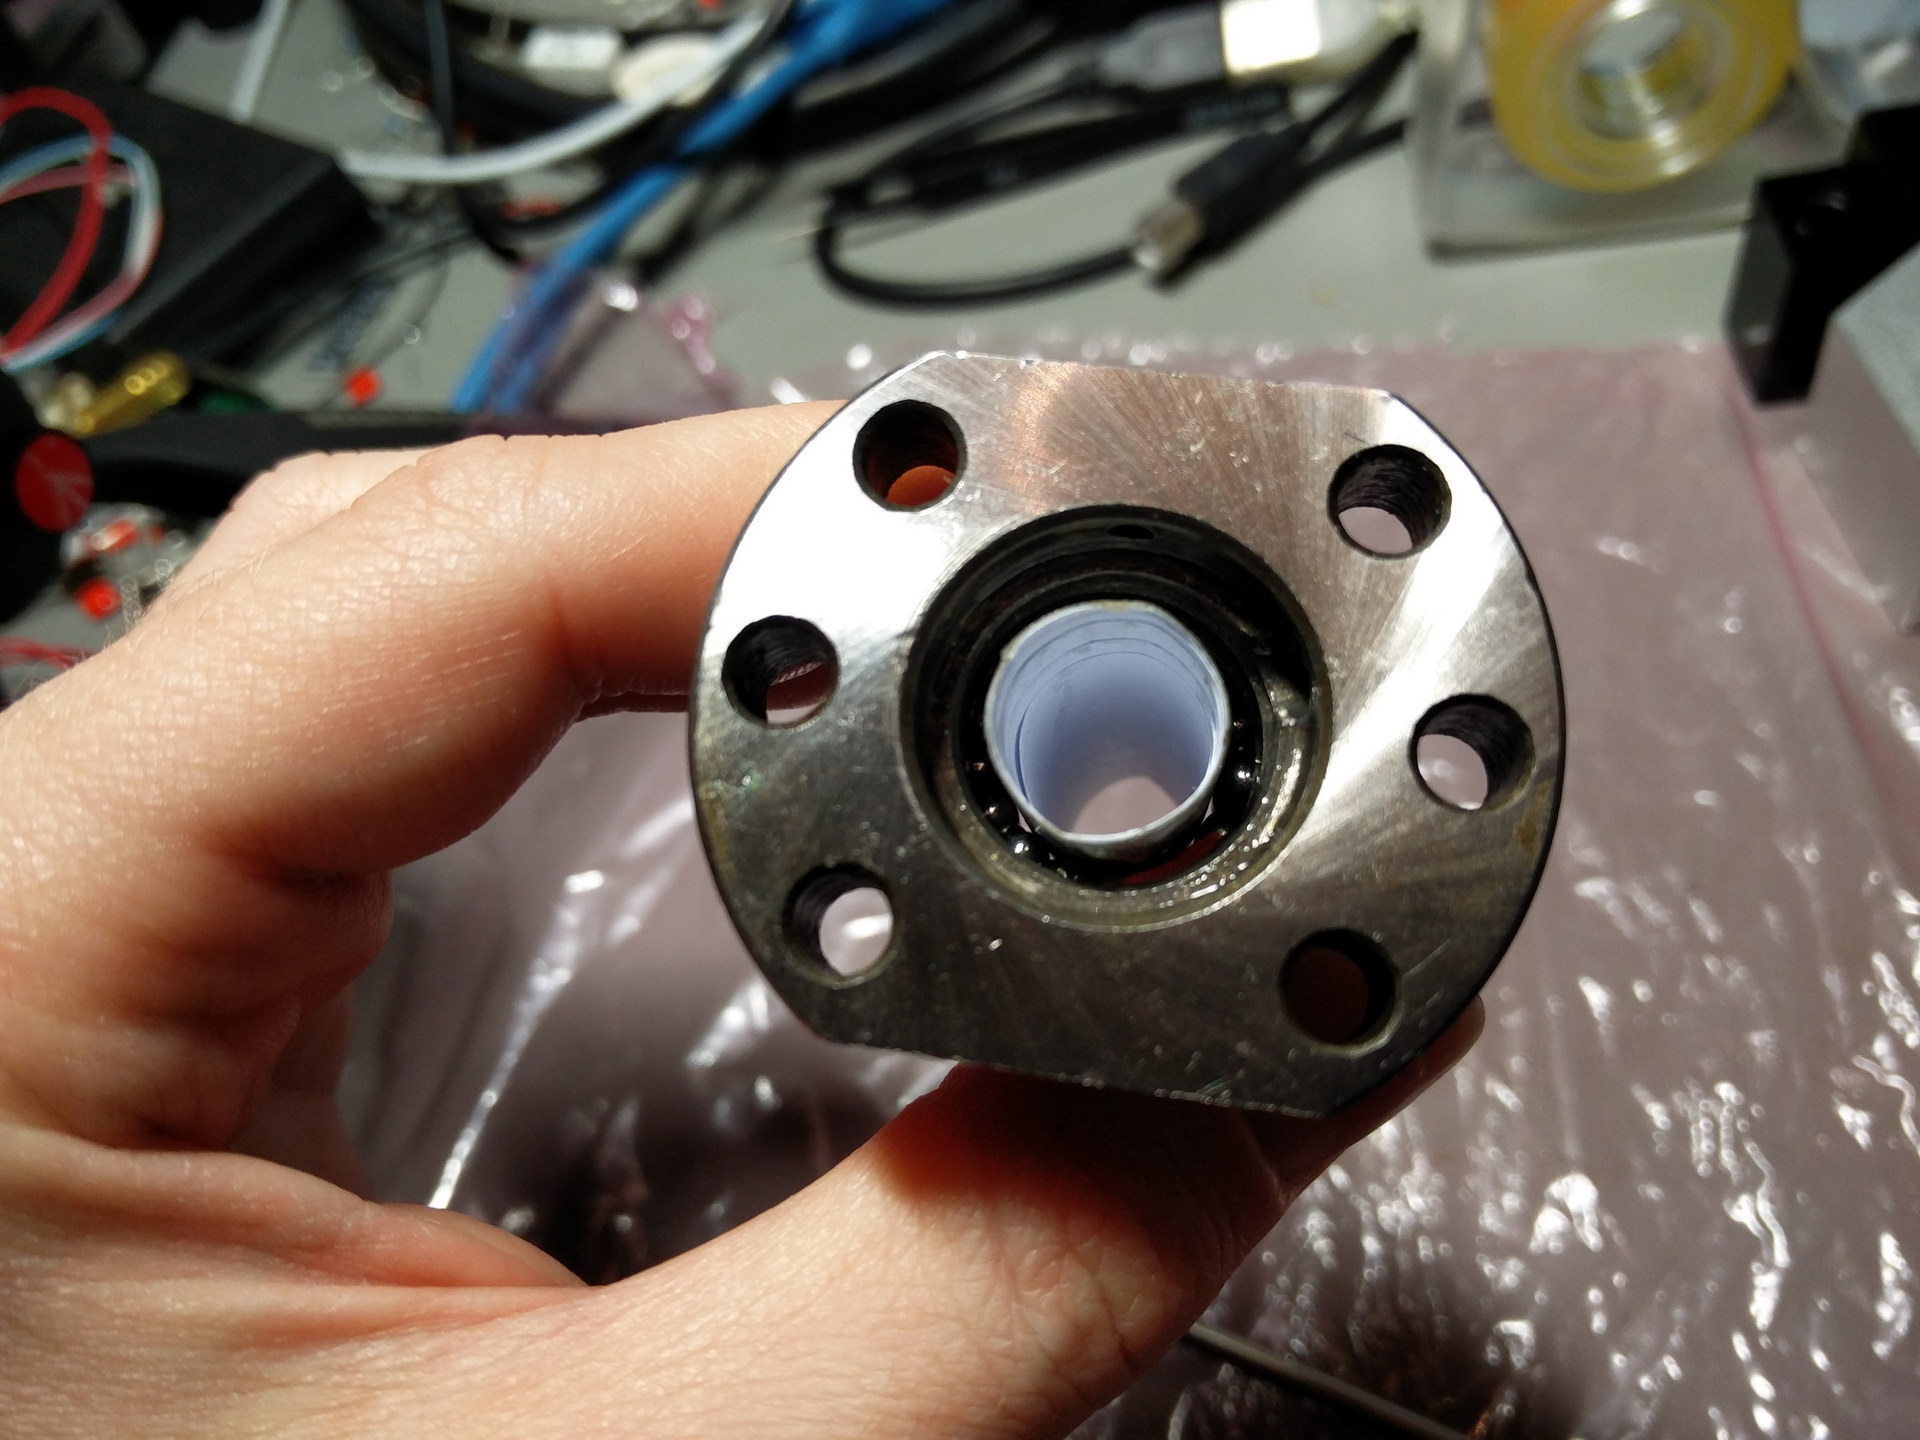
Then I took the ball screw and inserted it into the ball nut with my tube still in it. I began screwing in the ball nut, until the tube came out the other side.
That was it! My ball screw was as good as new!
So, to summarize, if you have to take a ball nut off a ball screw, prepare yourself for some tedious work putting it back on. Do make a paper tubing. Learn from my experience.