I had been looking for a good ADC board for lab use as a measurement device.
At first I considered making my own, using something like the TI PCM4222 ADC chip, due to its excellent performance, good availability and relative ease of build.
But then I got lazy and purchased the PCM4222 EVM instead:
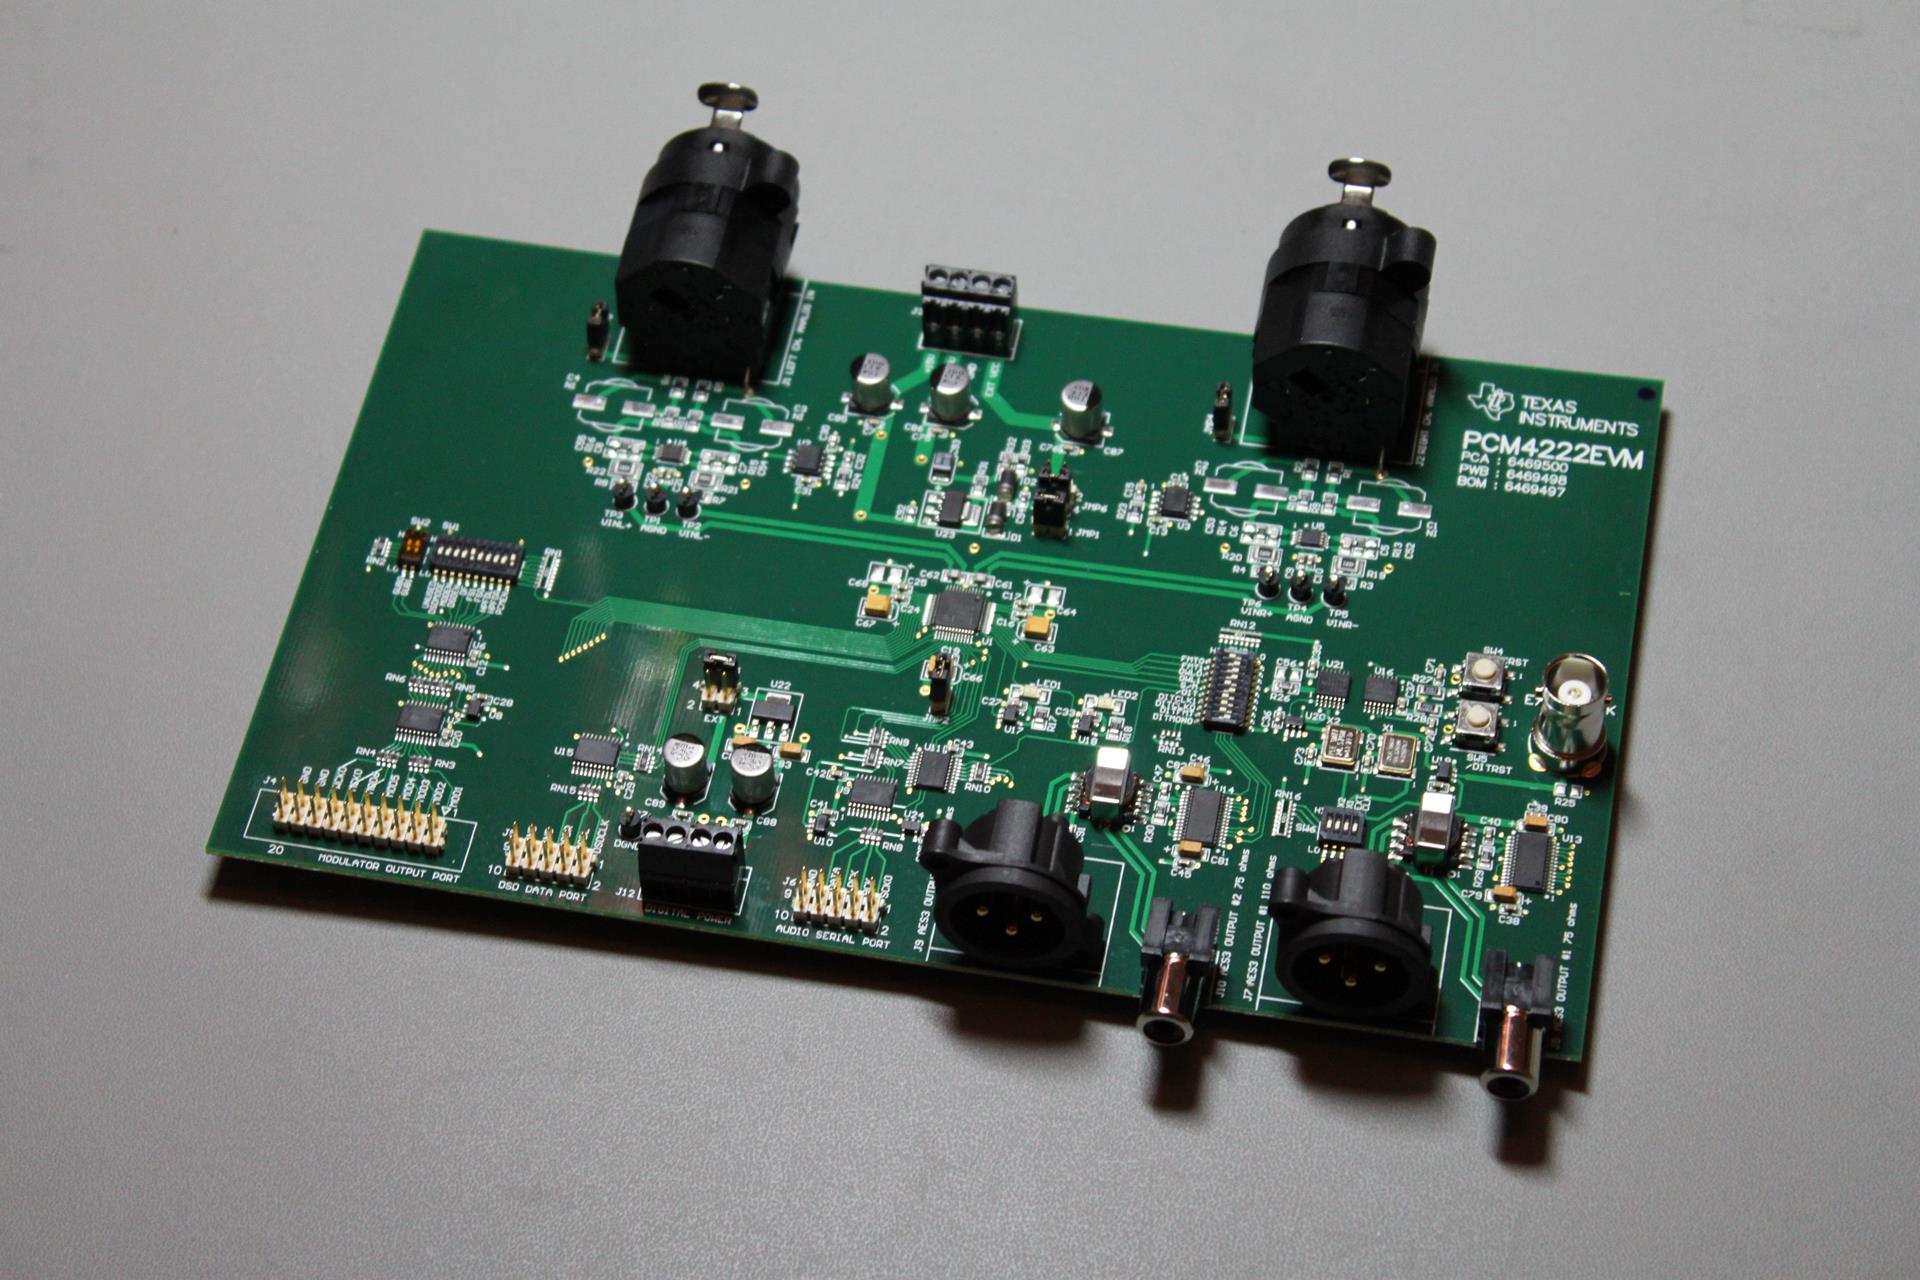
It is a 4-layer, well designed and implemented board.
Besides the necessary 2 clocks, it has a full set of digital outputs:
– Dual AES3 compatible outputs (both coaxial at 75Ω and XLR at 110Ω)
– I2S
– DSD
– Raw, directly from the modulators
Its analog inputs are balanced and very low noise.
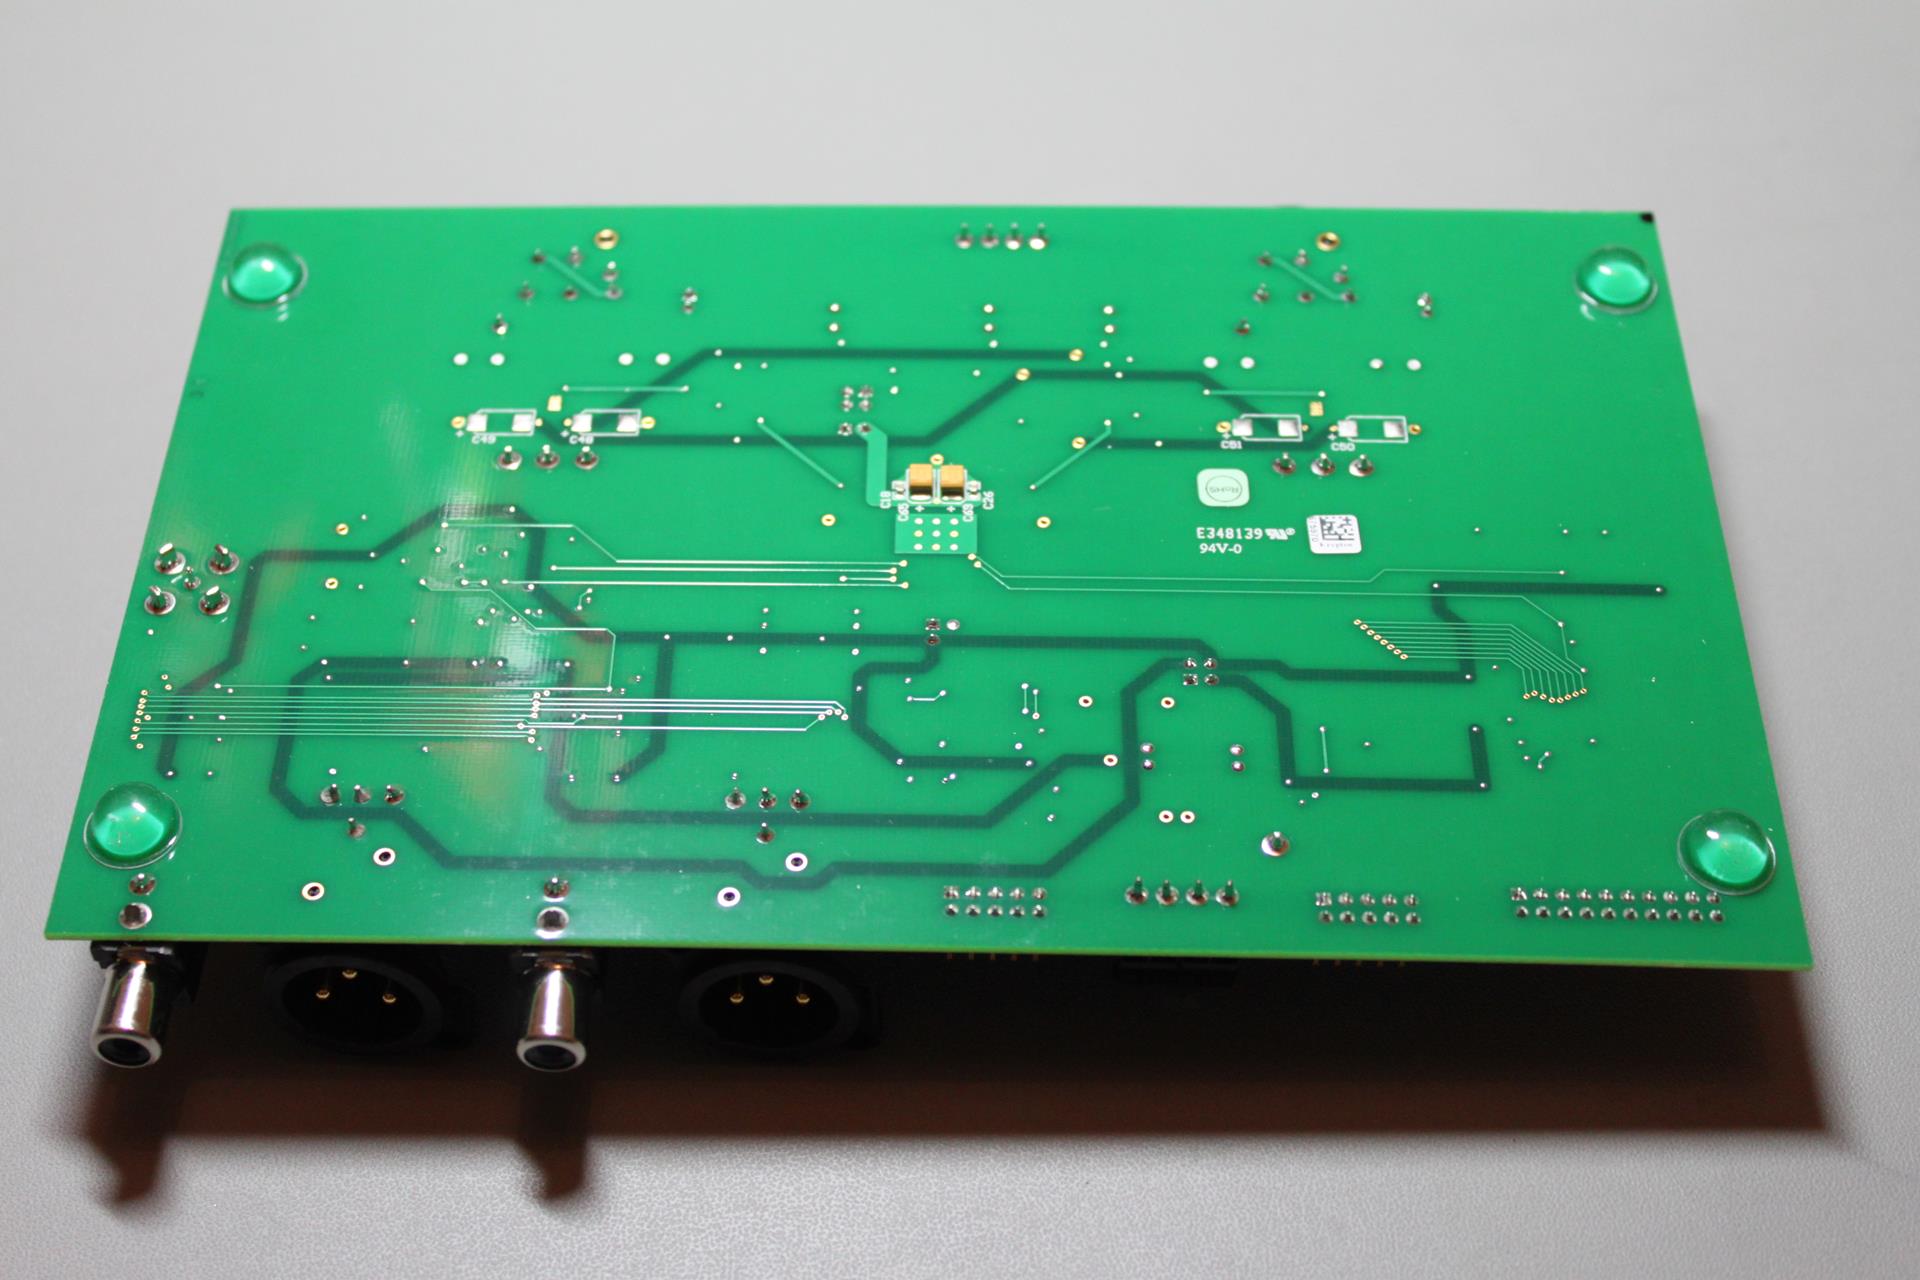
Make no mistake, this is an evaluation module. As such, there are no mounting holes. Just four rubber “feet”:
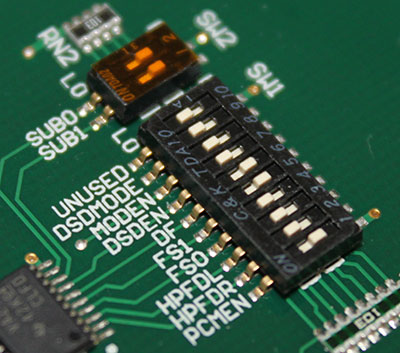
Since I was in a hurry to get it to work, I set it up for operation with the least amount of power supplies (+/-15VDC and +5VDC) and set the DIP switches for I2S operation at 24bit and 96KHz.
I wanted to use one of its built-in AES3 outputs, but my sound card only had consumer level s/pdif inputs. After a short Google search, this came up: http://www.rane.com/note149.html
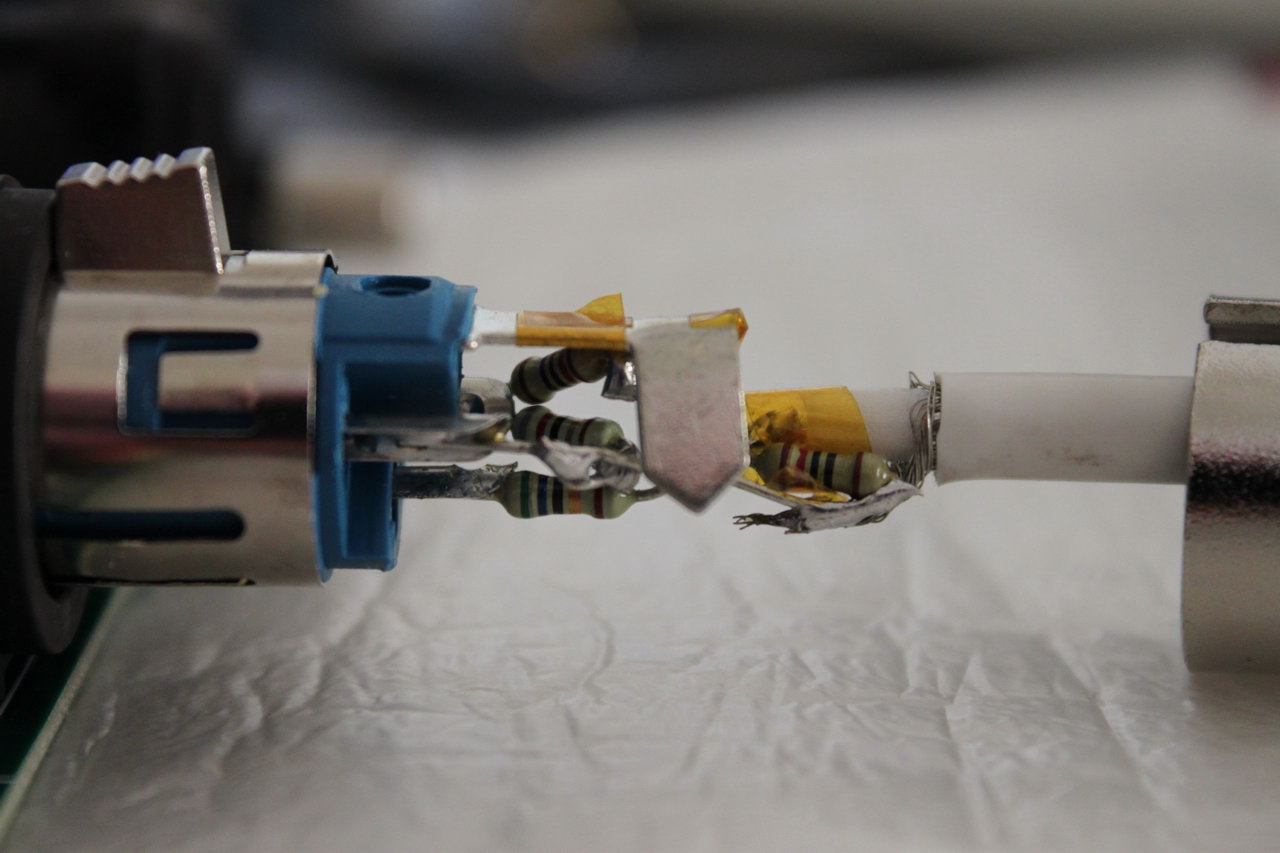
In other words, I had to make a 75Ω cable, with an XLR at one end, an RCA plug at the other and this circuit embedded in the XLR plug:
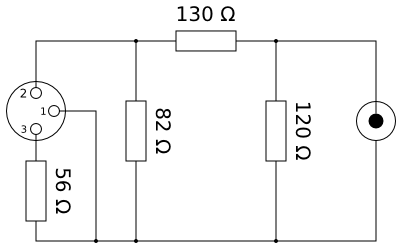
Surprisingly enough, it fit.
I hooked it up to the ‘scope to see if everything looked OK, and after being satisfied with what I saw I hooked it up to my X-Meridian’s coax s/pdif input. The sound mixer in Windows showed a full level signal coming out of it but it was heavily distorted. What was going on?
While troubleshooting, I tried the serial output port by connecting it to a WM8804 board that I had lying around. Sure enough, I got proper undistorted s/pdif output, so the PCM4222 was working as it should. So the problem had to be in the AES3 drivers.
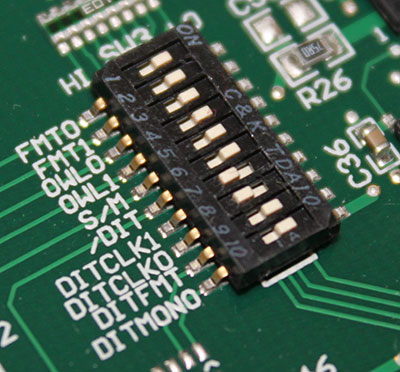
After some more Googling I came across a post in some forum by someone who had a similar problem with me. He said that for some reason he had to set the ADC’s output to Left Justified (instead of I2S) in order to get the AES3 transmitters to output a proper signal. I made the necessary changes to the microswitches and lo and behold, it worked!
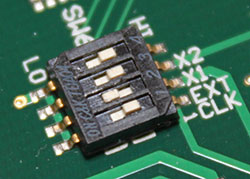
This is the configuration that I ended up with:
Next up is a proper input stage, since the ADC has balanced inputs but most of my equipment-under-test is single ended.
![ENC28J60%20Ethernet%20Module1[1]](https://www.dimdim.gr/wp-content/uploads/2015/04/ENC28J60-Ethernet-Module11.jpg)