Programming an FPGA is considered top-level DIY digital audio stuff.
You get to implement FIFOs that buffer the audio and get rid of jitter and also implement custom digital filters with performance way beyond what is available on commercial DAC chips.
There is only one catch but it’s a big one.
You have to learn how to program in Verilog or VHDL, which are Hardware Description Languages. So their logic is very different to classic programming languages or even microcontroller programming languages.
If you are doing this as a hobby, and are of a certain age, that may look like a very steep learning curve.
That is precisely why, even though I bought a Spartan 6 development kit almost 10 years ago, I never quite got around to playing with it.
Fast forward to 2026, when AI is now considered a “kindda mature” technology.
All the kids are doing “Vibe coding”, meaning they just discuss with the AIs what they want to implement and then let the AIs do all of the actual programming.
After a few iterations of this process they usually end up with something that functions. It may not be elegant, it may not be optimized, it may not be secure, but at least it functions.
The fact that a non-programmer can create functional (and presumably useful) software is pretty much amazing (ok, a “friggin’ miracle” may be more accurate).
So I thought, what if I could apply this technique to an FPGA design?
So I got to work, and when I say work I mean chatting with Gemini Pro 3.1. So, easy work.
Before I continue, one side note. Not all AIs have the same capabilities. If you think you can accomplish something like this using the “free / fast” models you are sadly mistaken. You will need all the processing power that you can get. I got by with the basic Gemini Pro subscription (~20$ / month) but access to hi-end Claude models would have saved me a lot of time. Not a huge problem for a hobby-grade project, but still..
Now, back to our story.
After I got Gemini’s confirmation that it can indeed do most of the Verilog programming for me, and realizing that the Spartan 6 is pretty much outdated, I set out to pick a suitable FPGA.
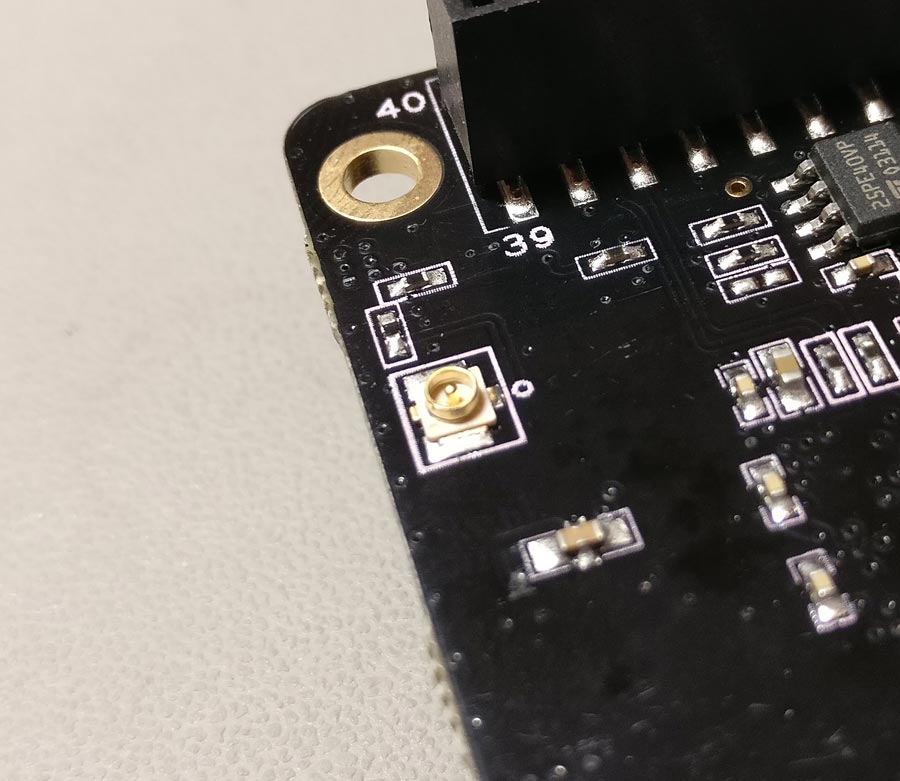
The main requirement was that it be “human-solderable”. I should be able to solder it on to a PCB without having to actually manufacture the populated board. That meant no BGA stuff.
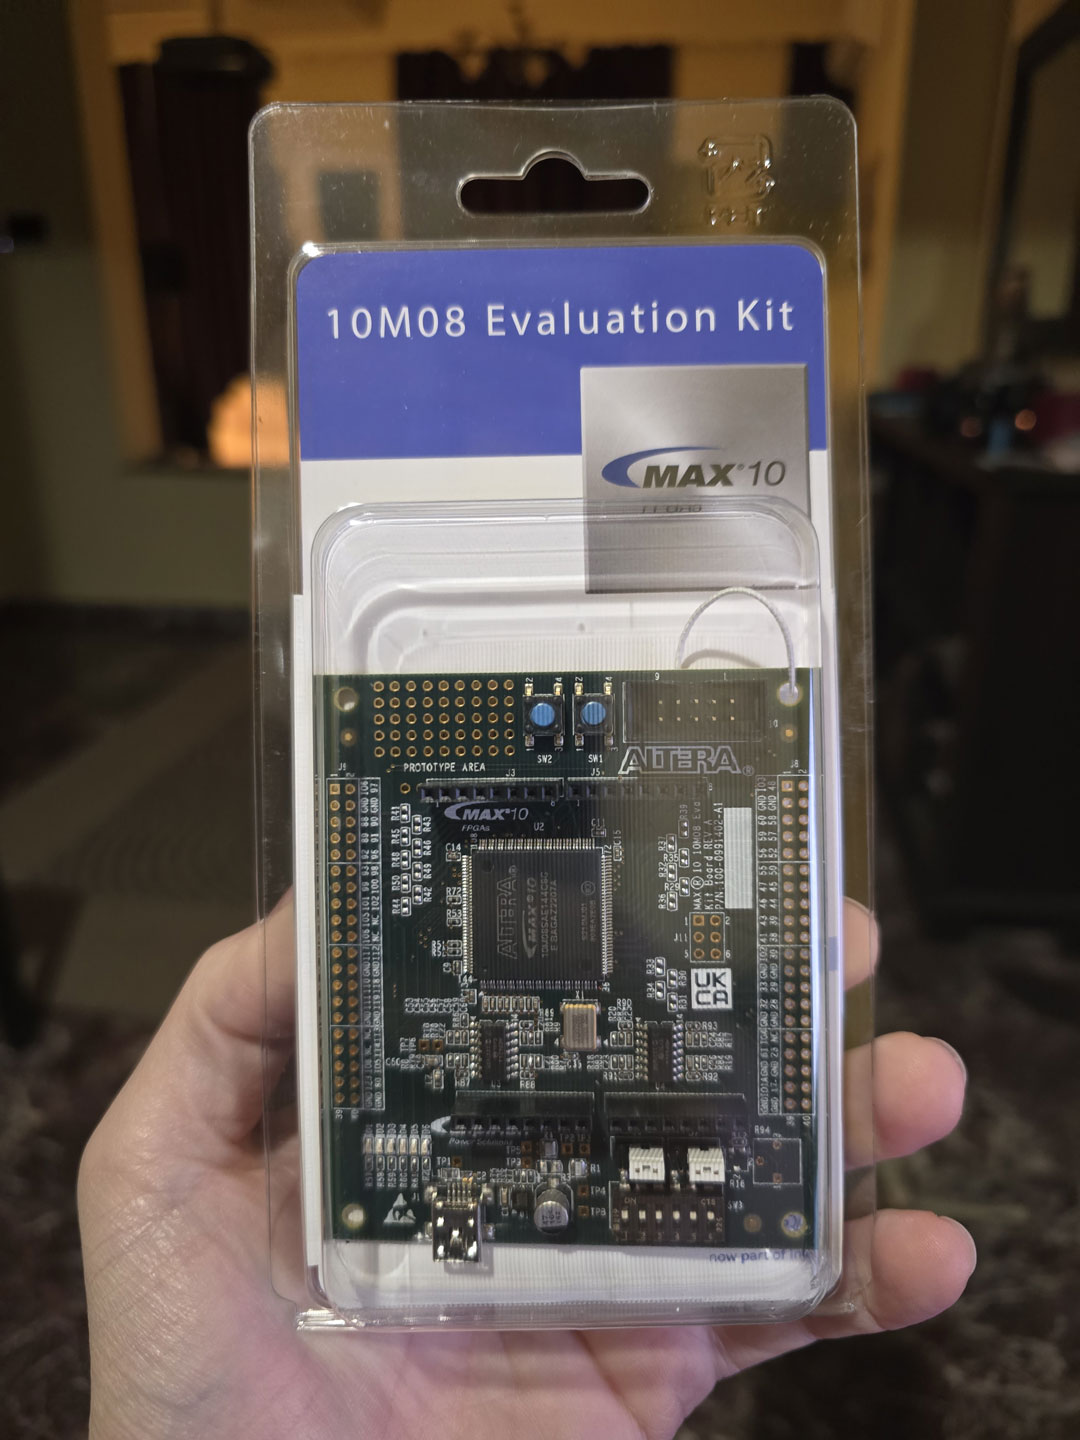
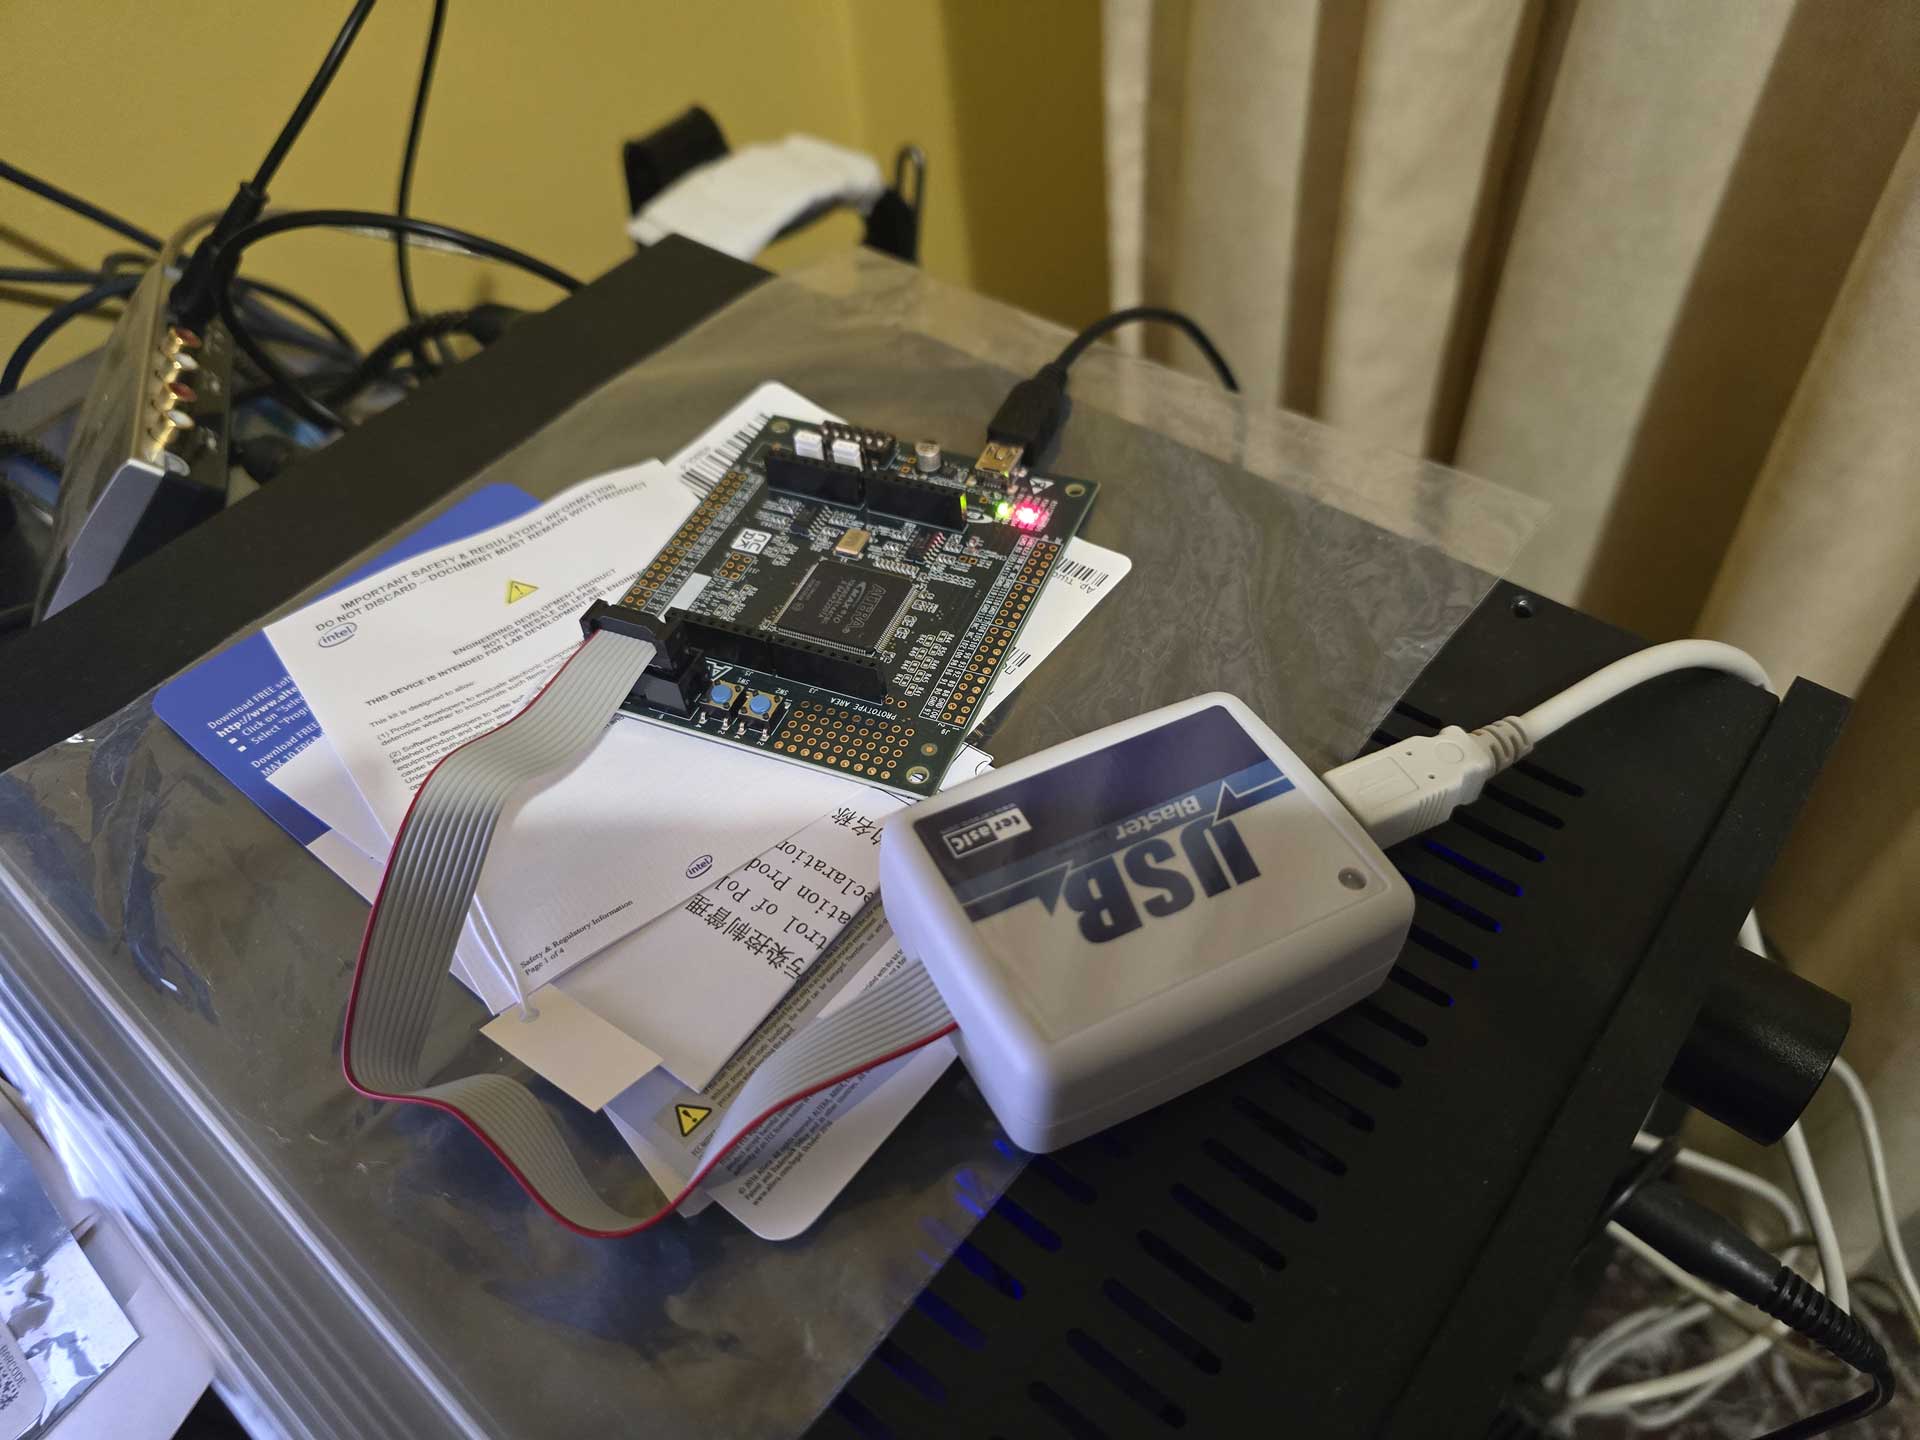
After some deliberation, I ended up picking the Intel / Altera MAX 10. It has variants with plenty of horsepower that come at the human-solderable 144 pin EQFP package. Nice.
Plus, you can get a 10M08 dev board on Mouser for about 60$.
 As a matter of fact, the programmer that you will also need (USB Blaster) is in fact slightly more expensive than the dev board itself. You may be tempted to buy a knockoff programmer off of Ebay. Do not buy such a device. It will not work, even though the AIs might tell you otherwise. I got one, tried to get it to work, failed miserably. I asked the AI why I couldn’t get it to work and its reply was something like “oh, you got that one, the Chinese one? Sorry, it’s junk, it will never work, just shell out the 60$ for the proper programmer”.
Sigh.
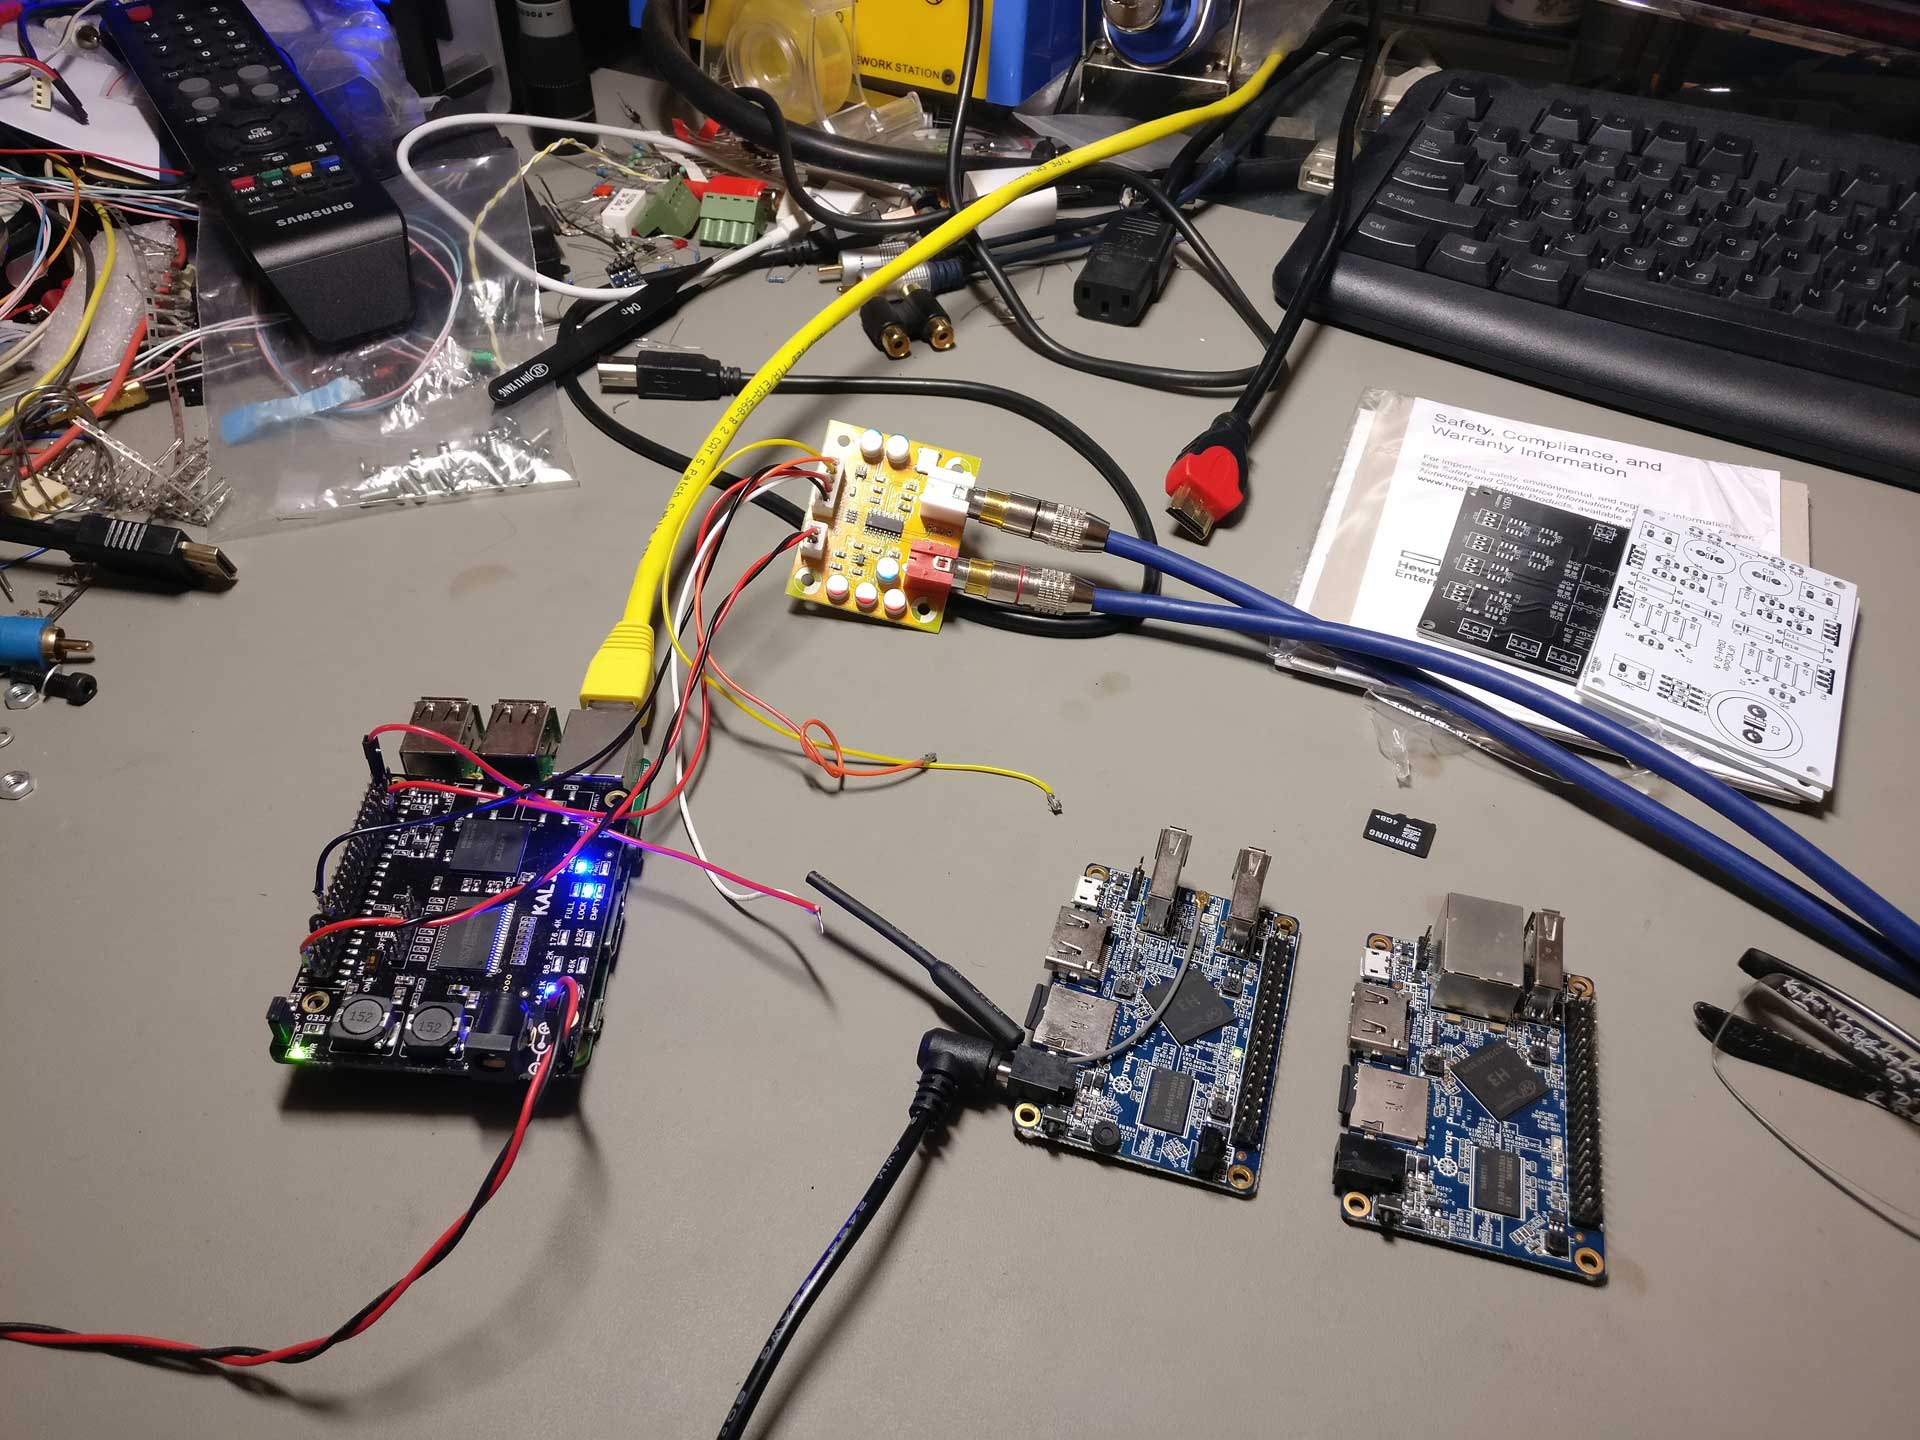
Anyway, with a working programmer on hand, I proceeded to use Quartus to write my first Verilog “blink” program and upload it to the dev board. The LED began to blink. Awesome.
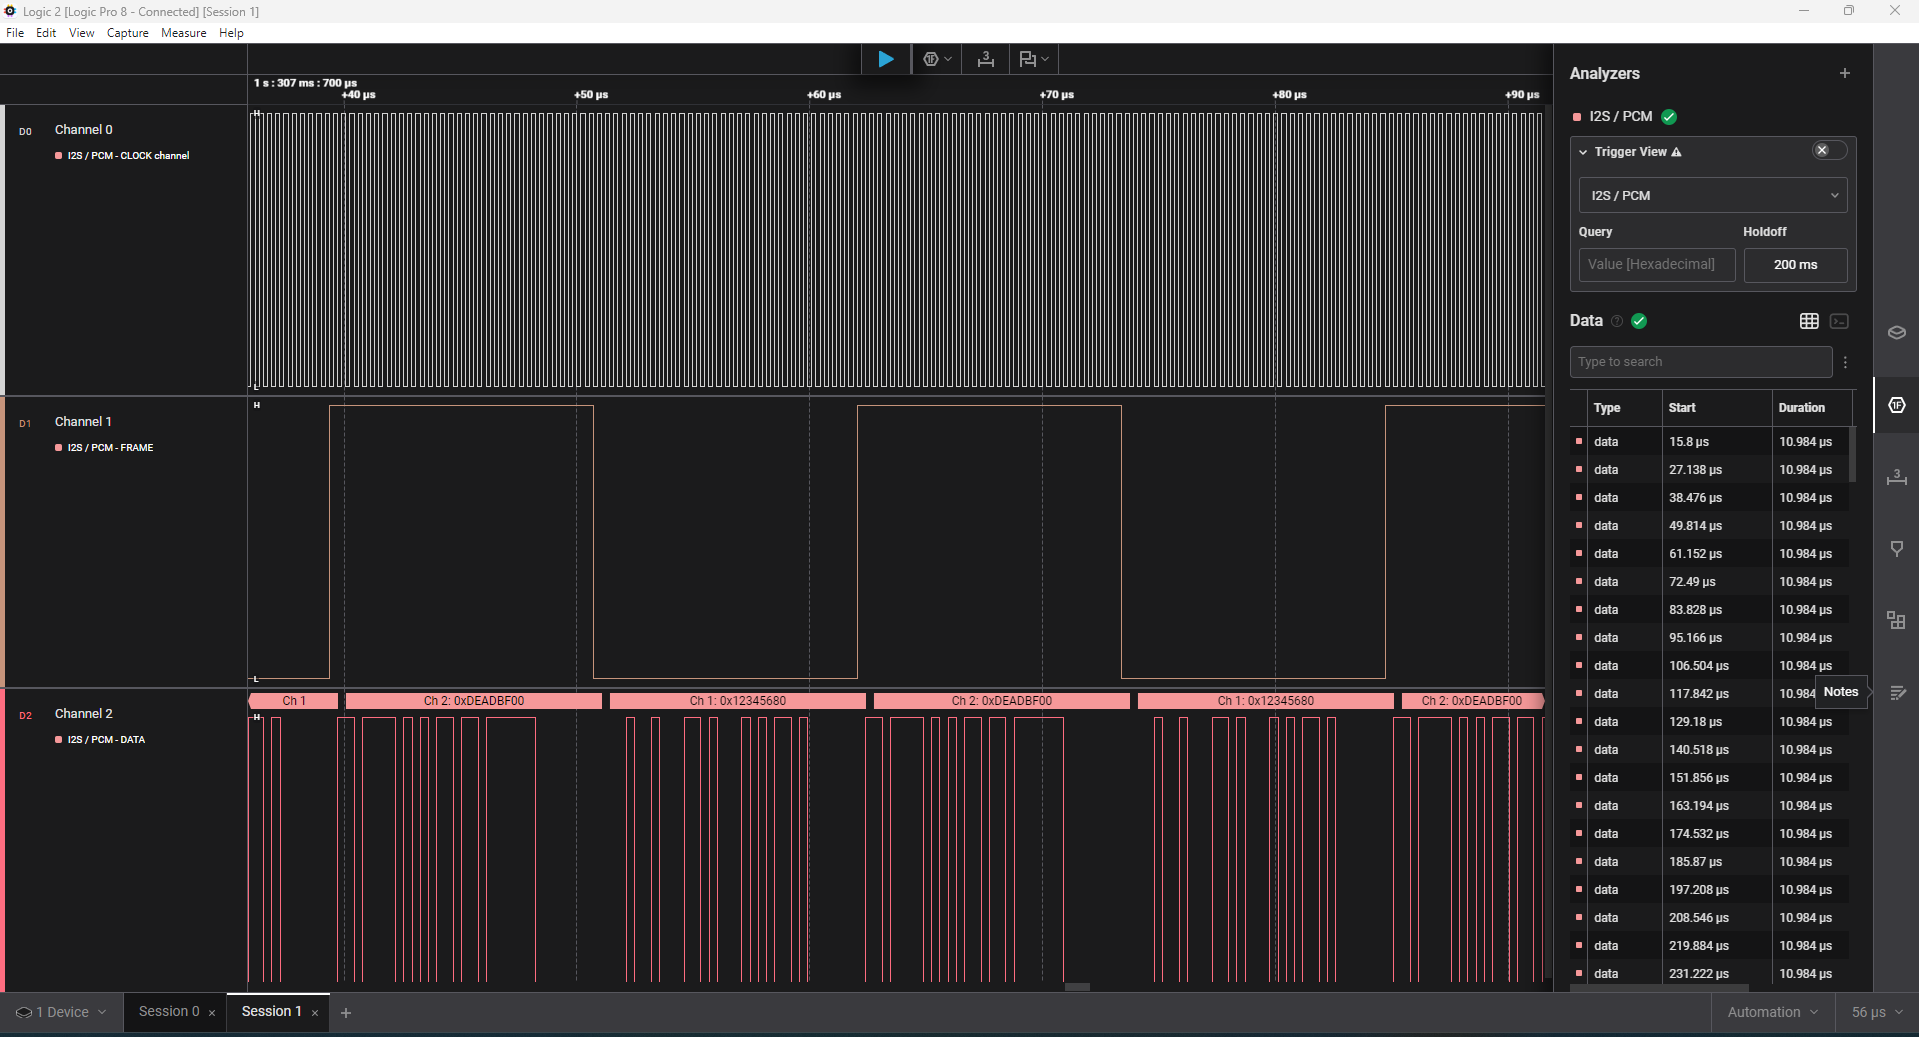
 Next up, something useful. With the help of Gemini I proceeded to write (ok, actually copy-paste) a bunch of pieces of code that were supposed to implement an I2S receiver, a Dual Clock FIFO, and an I2S transmitter, just for 44.1KHz sampling rate and 32bits of resolution. It would use PLLs to generate the necessary signals (BCLK, LRCLK, DATA) from the system’s 50MHz clock. Part of the process was struggling with Quartus’ bugs, especially when trying to generate IP and getting garbled screens. The AI helped a lot here, proposing solutions or workarounds to bugs.
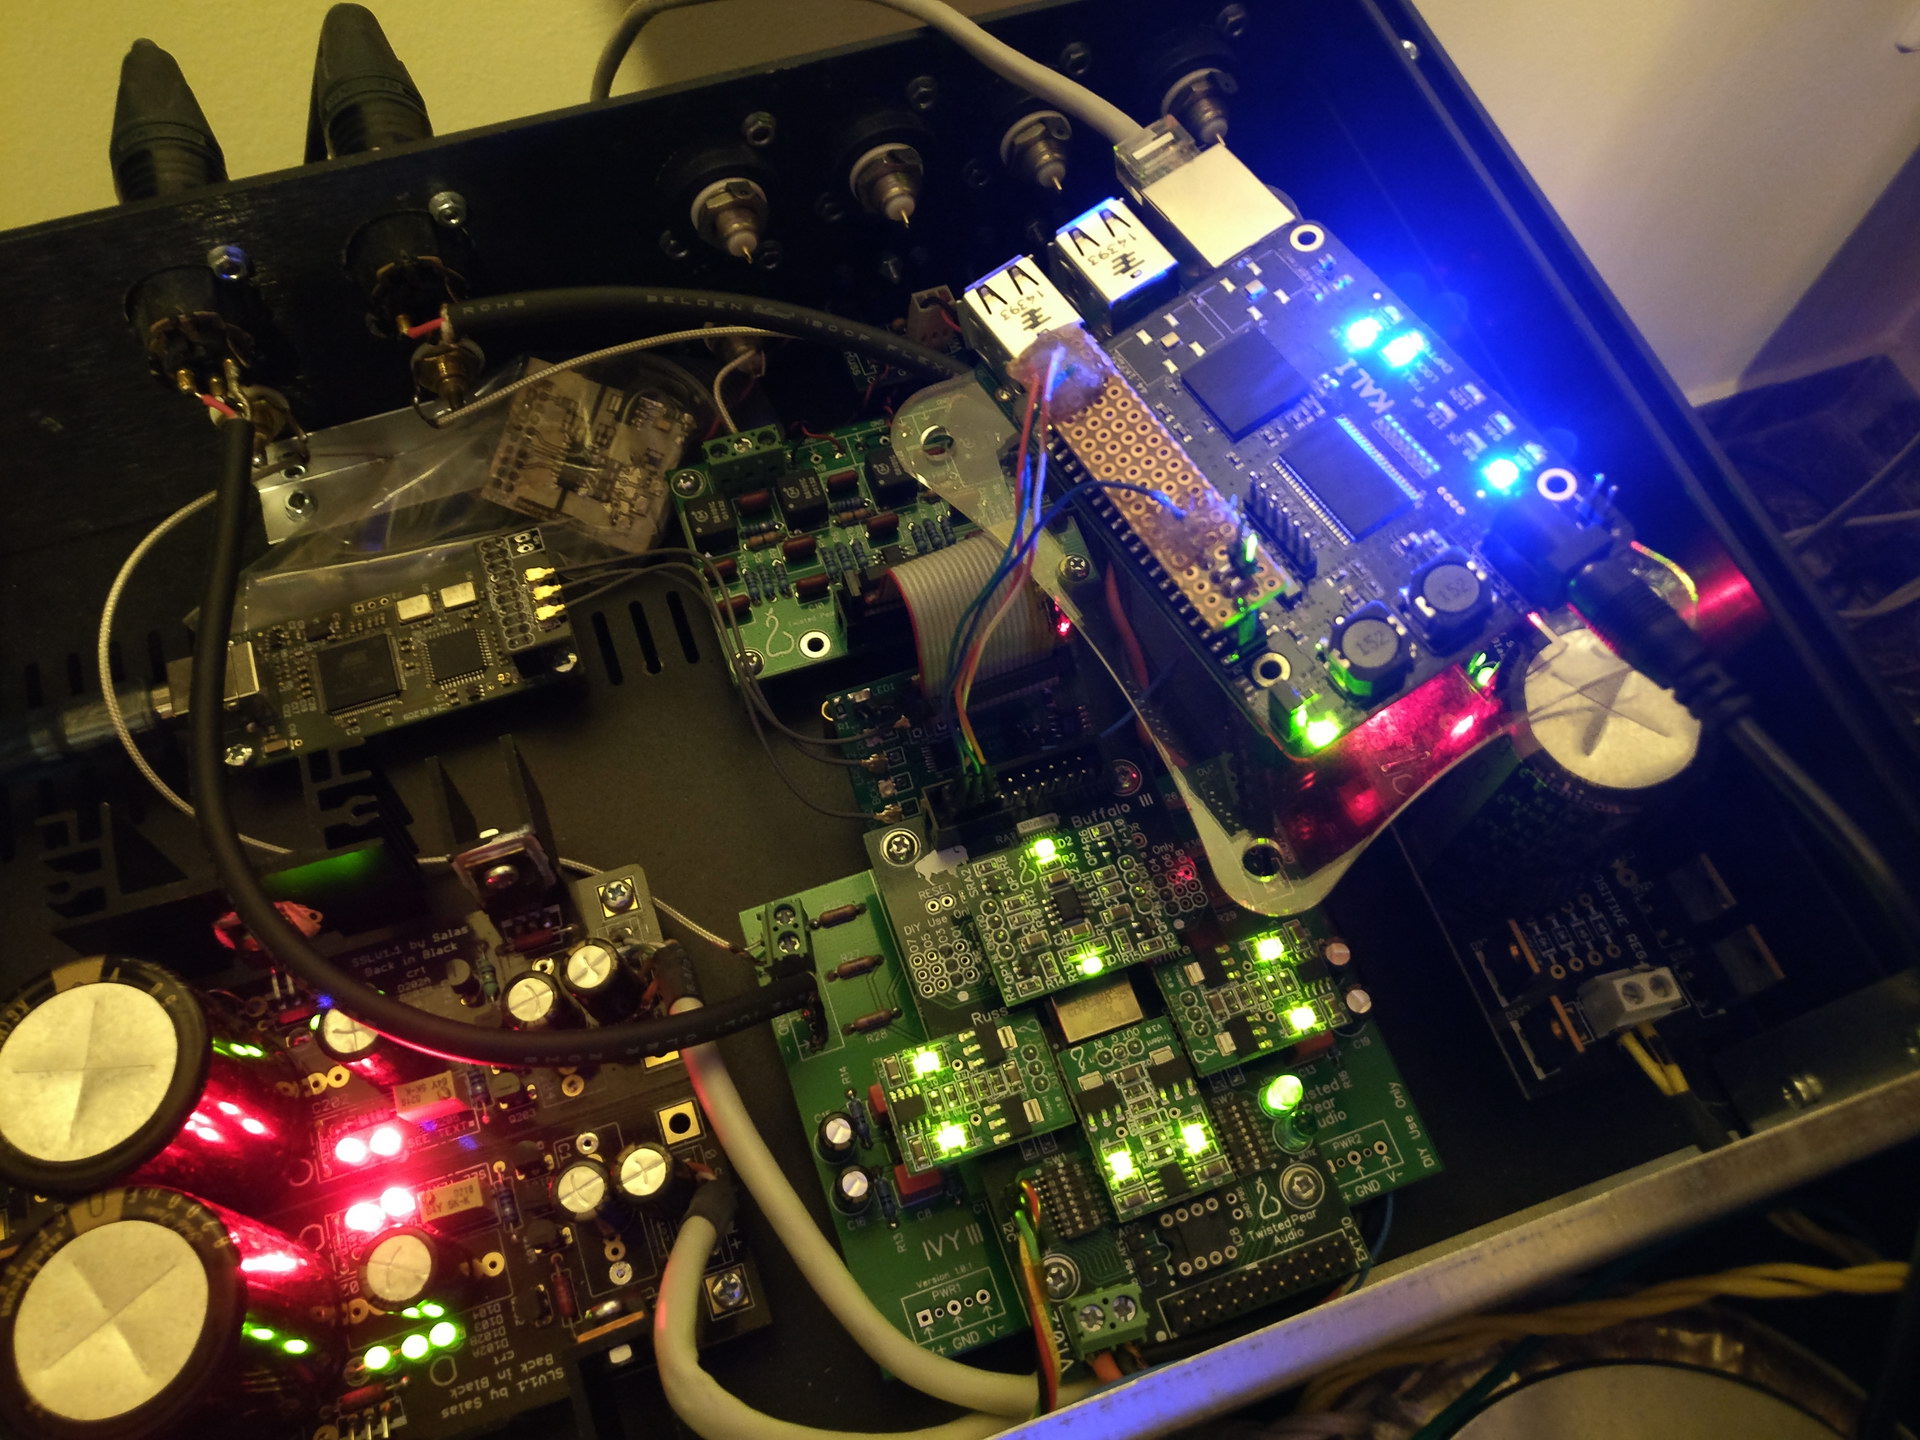
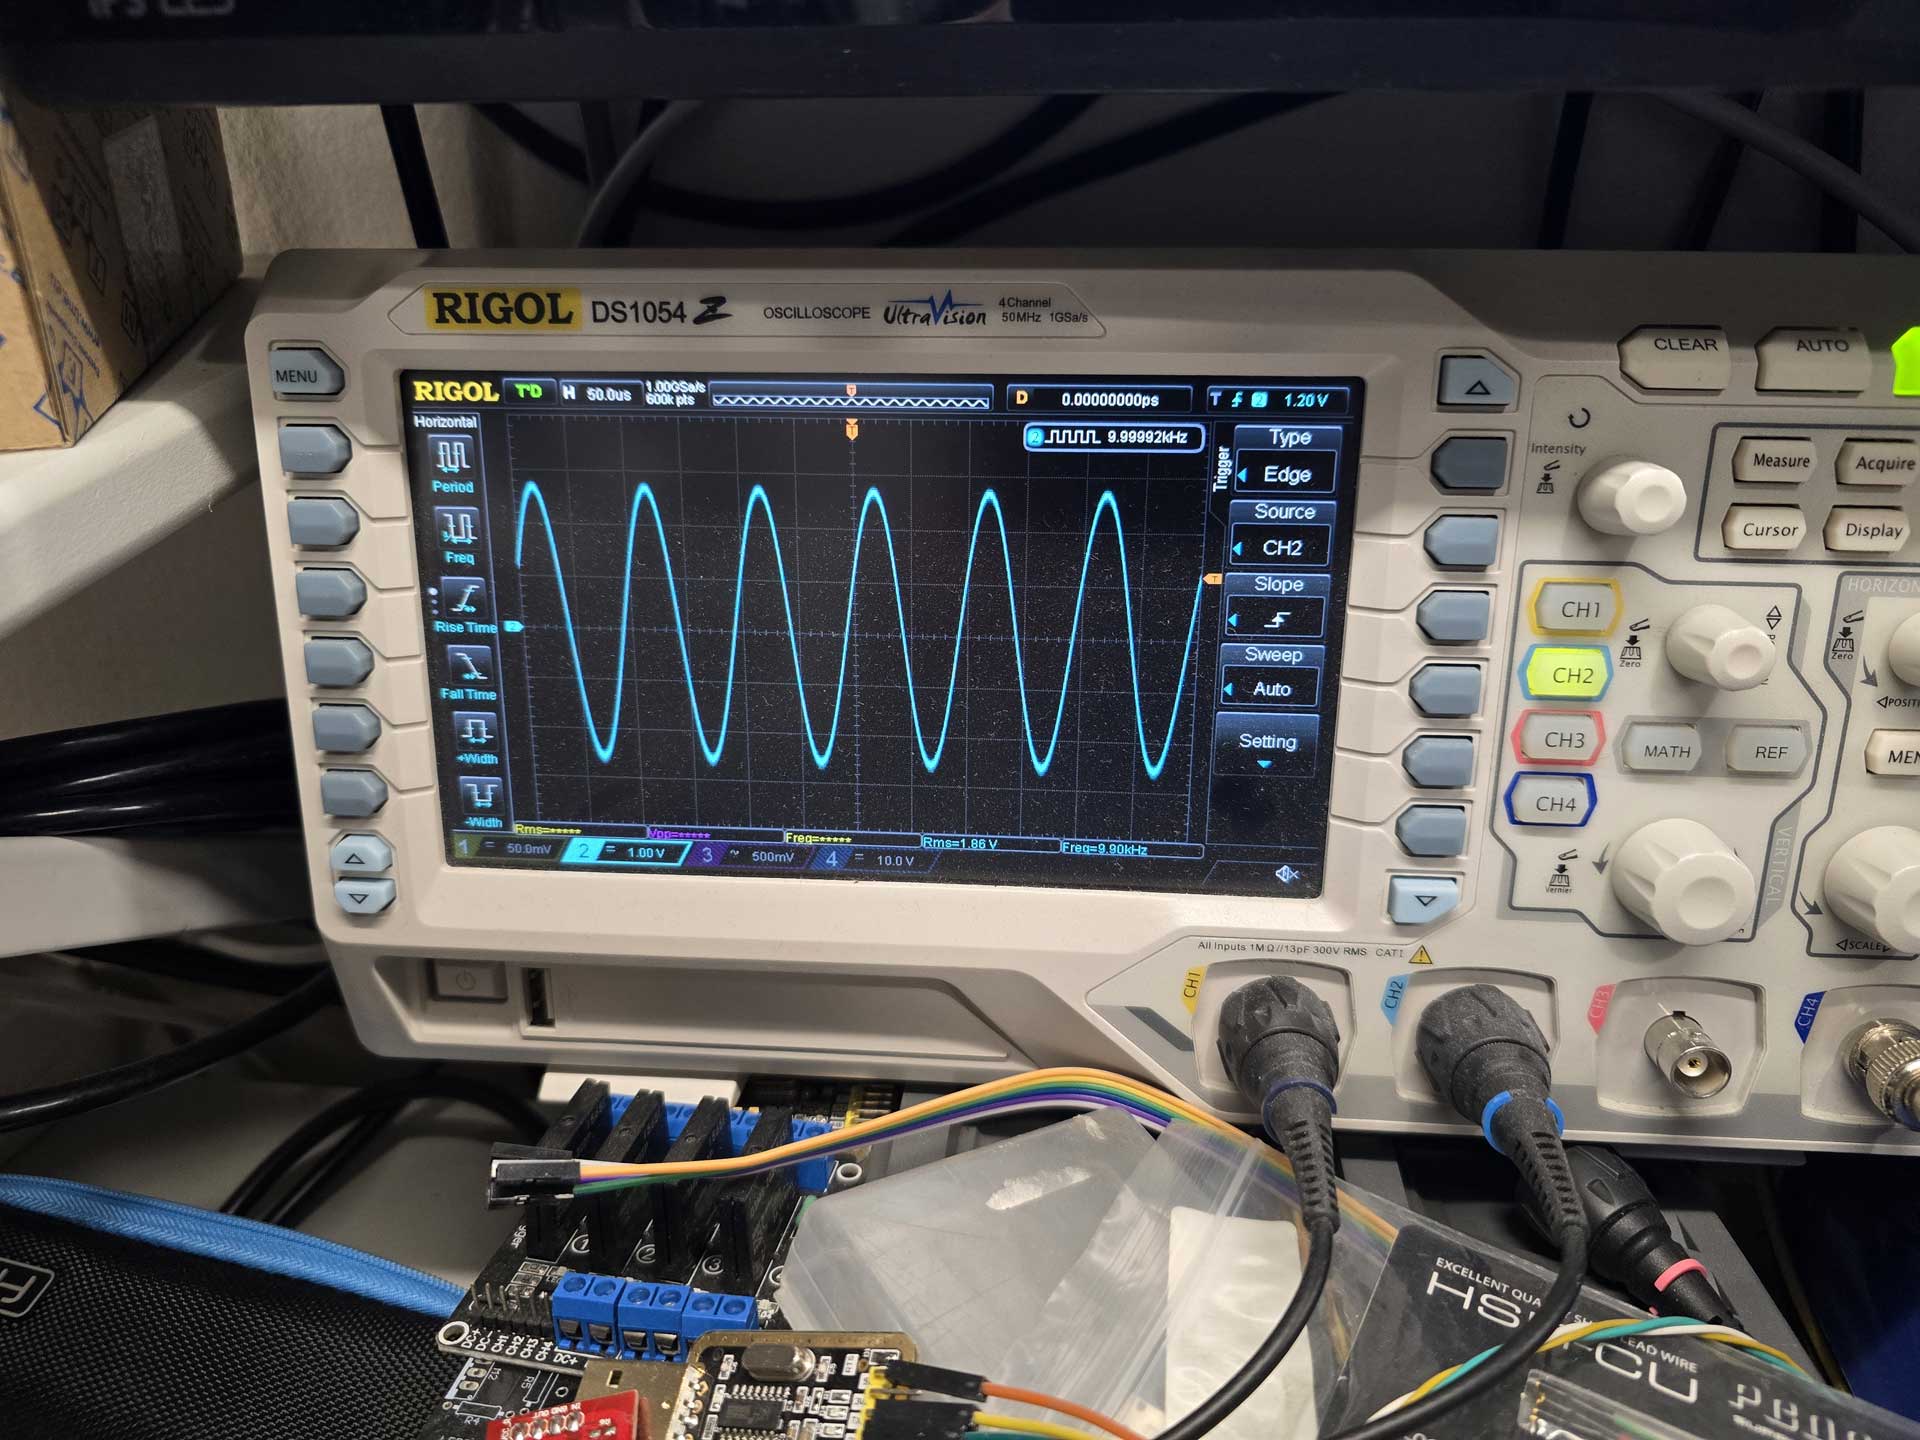
When the test project was built, I hooked up an Amanero as I2S source and an ES9023-based tiny DAC as an I2S receiver. I connected the analog out of the DAC to my oscilloscope and uploaded the code to the FPGA. I played a test file consisting of a 10KHz sine wave and got.. junk on the oscilloscope.
Well, what did I expect? It was a pretty much “blind” attempt at FPGA coding.
But then ΑΙ magic started to happen. I described to the AI what i was doing and what I was seeing on the oscilloscope and after a few Qs and As it figured out exactly what was happening. It instructed me to make a few changes to the code and lo and behold, I got a clear 10KHz signal on my oscilloscope!
 So i had a system that would receive an I2S signal, buffer it in a FIFO, and output it through an I2S transmitter. It was the first and most important step towards implementing what I had in mind, and it was working after a couple of hours of work.
All that without me having to write a single line of Verilog code. So much win.
From then on it was just natural evolution of the project.
I managed to get bit counters working, to recognize the sampling rate of the incoming signals.
I got external MCLK working, so that I could run the output of the FPGA synchronously with the DAC.
I got a bidirectional UART working so that I could see what’s going on in the FPGA and instruct it to do things like change input or tell me the sampling rate, etc.
But not everything worked right away. I got the idea of implementing a PRBS-15 bit perfect test routine so that I can have visual confirmation that the FPGA is not screwing up something in my signal. Gemini 3.1 Pro could not figure out why it didn’t work. Neither could Claude Sonnet 4.6. Neither Claude Opus 4.7. So I gave up on PRBS and switched to a “known pattern recognition” algorithm. That worked straight away and was definitely good enough.
Then I added DSD compatibility with automatic signal type detection.
And a DoP decoder.
And DSD stuck bit protection.
And a real bit depth detector.
And LEDs that show the status of the FIFO buffer, along with Bit Perfectness and DSD Muting.
And multiple I2S inputs.
And an S/PDIF receiver and decoder implemented inside the FPGA.
It also gave great help in creating an SDC (Synopsys Design Constraints) file for the project, which is a must have when you are dealing with high frequency, jitter sensitive signals.
During our conversations it did need reminding of what we had already implemented, due to the AI’s limited context window, but overall it was doing a very decent job.
And there were cases where it hallucinated, causing me to go down the wrong path, wasting time.
But the real test of the AI’s capabilities (and my patience) was when I got to the part of adding a PSRAM chip for extra buffering time.
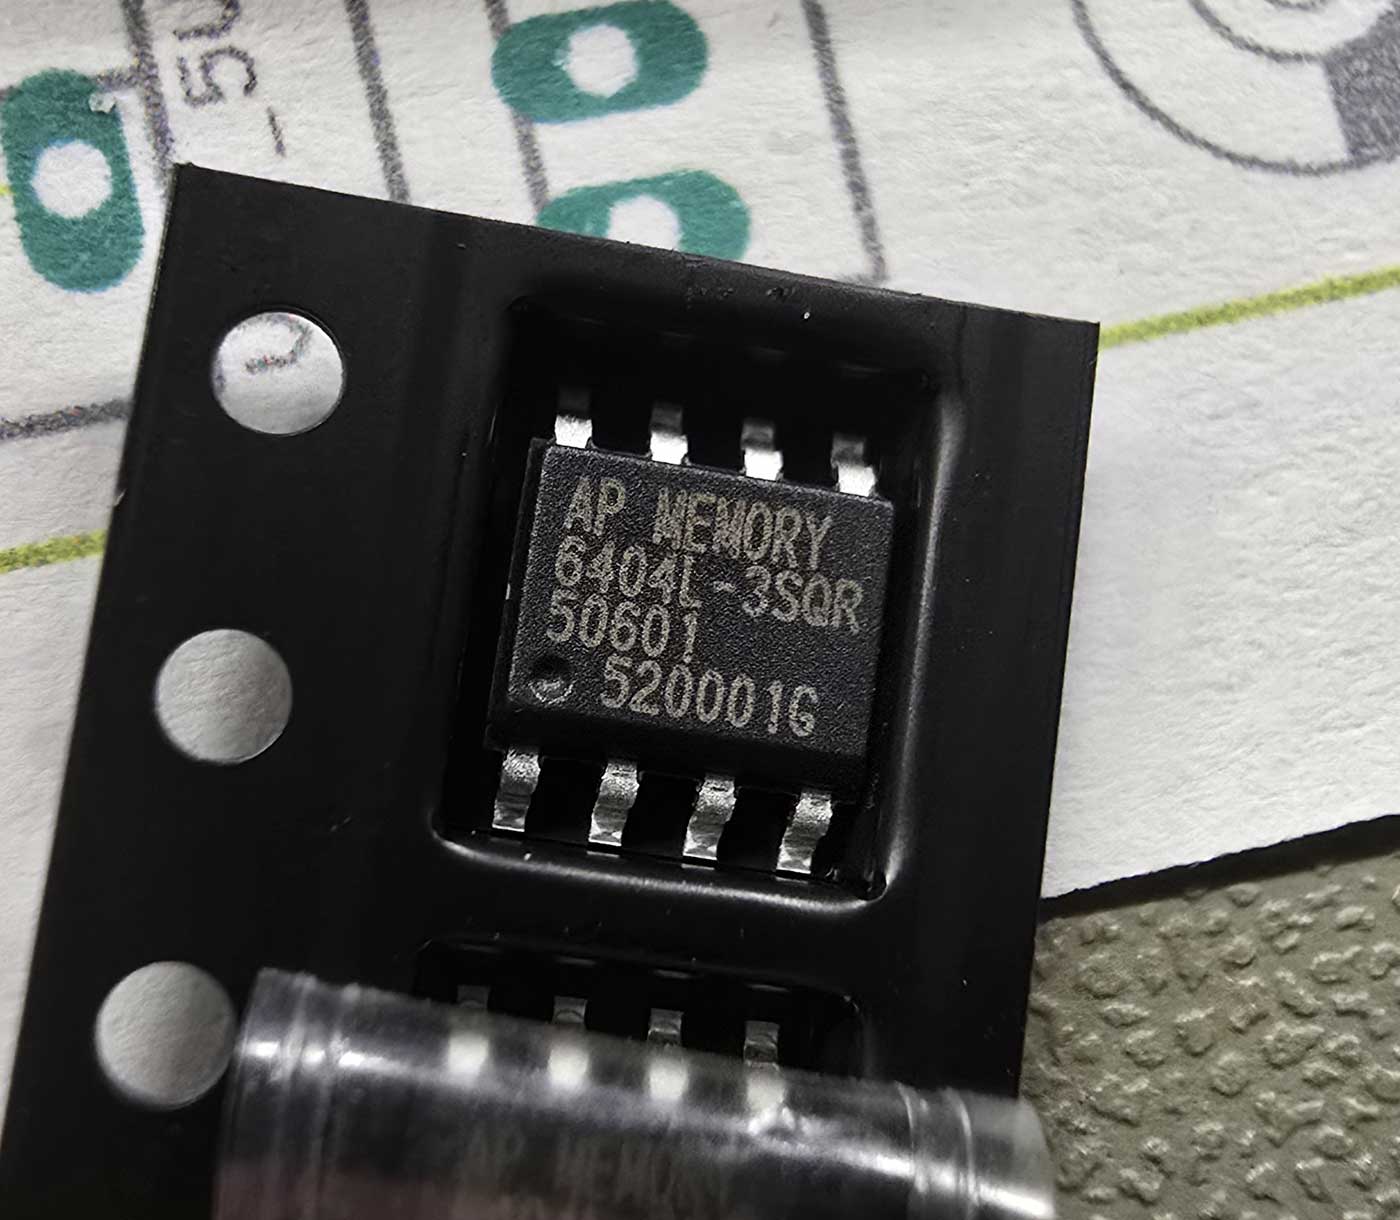 It was a real challenge. The AI wrote a bunch of routines that managed the communication with the PSRAM over a QSPI bus, the handling and packaging of the data, the pseudo-concurrent reading and writing to the memory, and much much more.
Of course, it didn’t work on the first try.
Or the second.
Or the third.
At about that time I realized that looking at a fuzzy oscilloscope screen, describing to the AI what I was seeing and expecting it to figure out what was not working was not going to cut it.
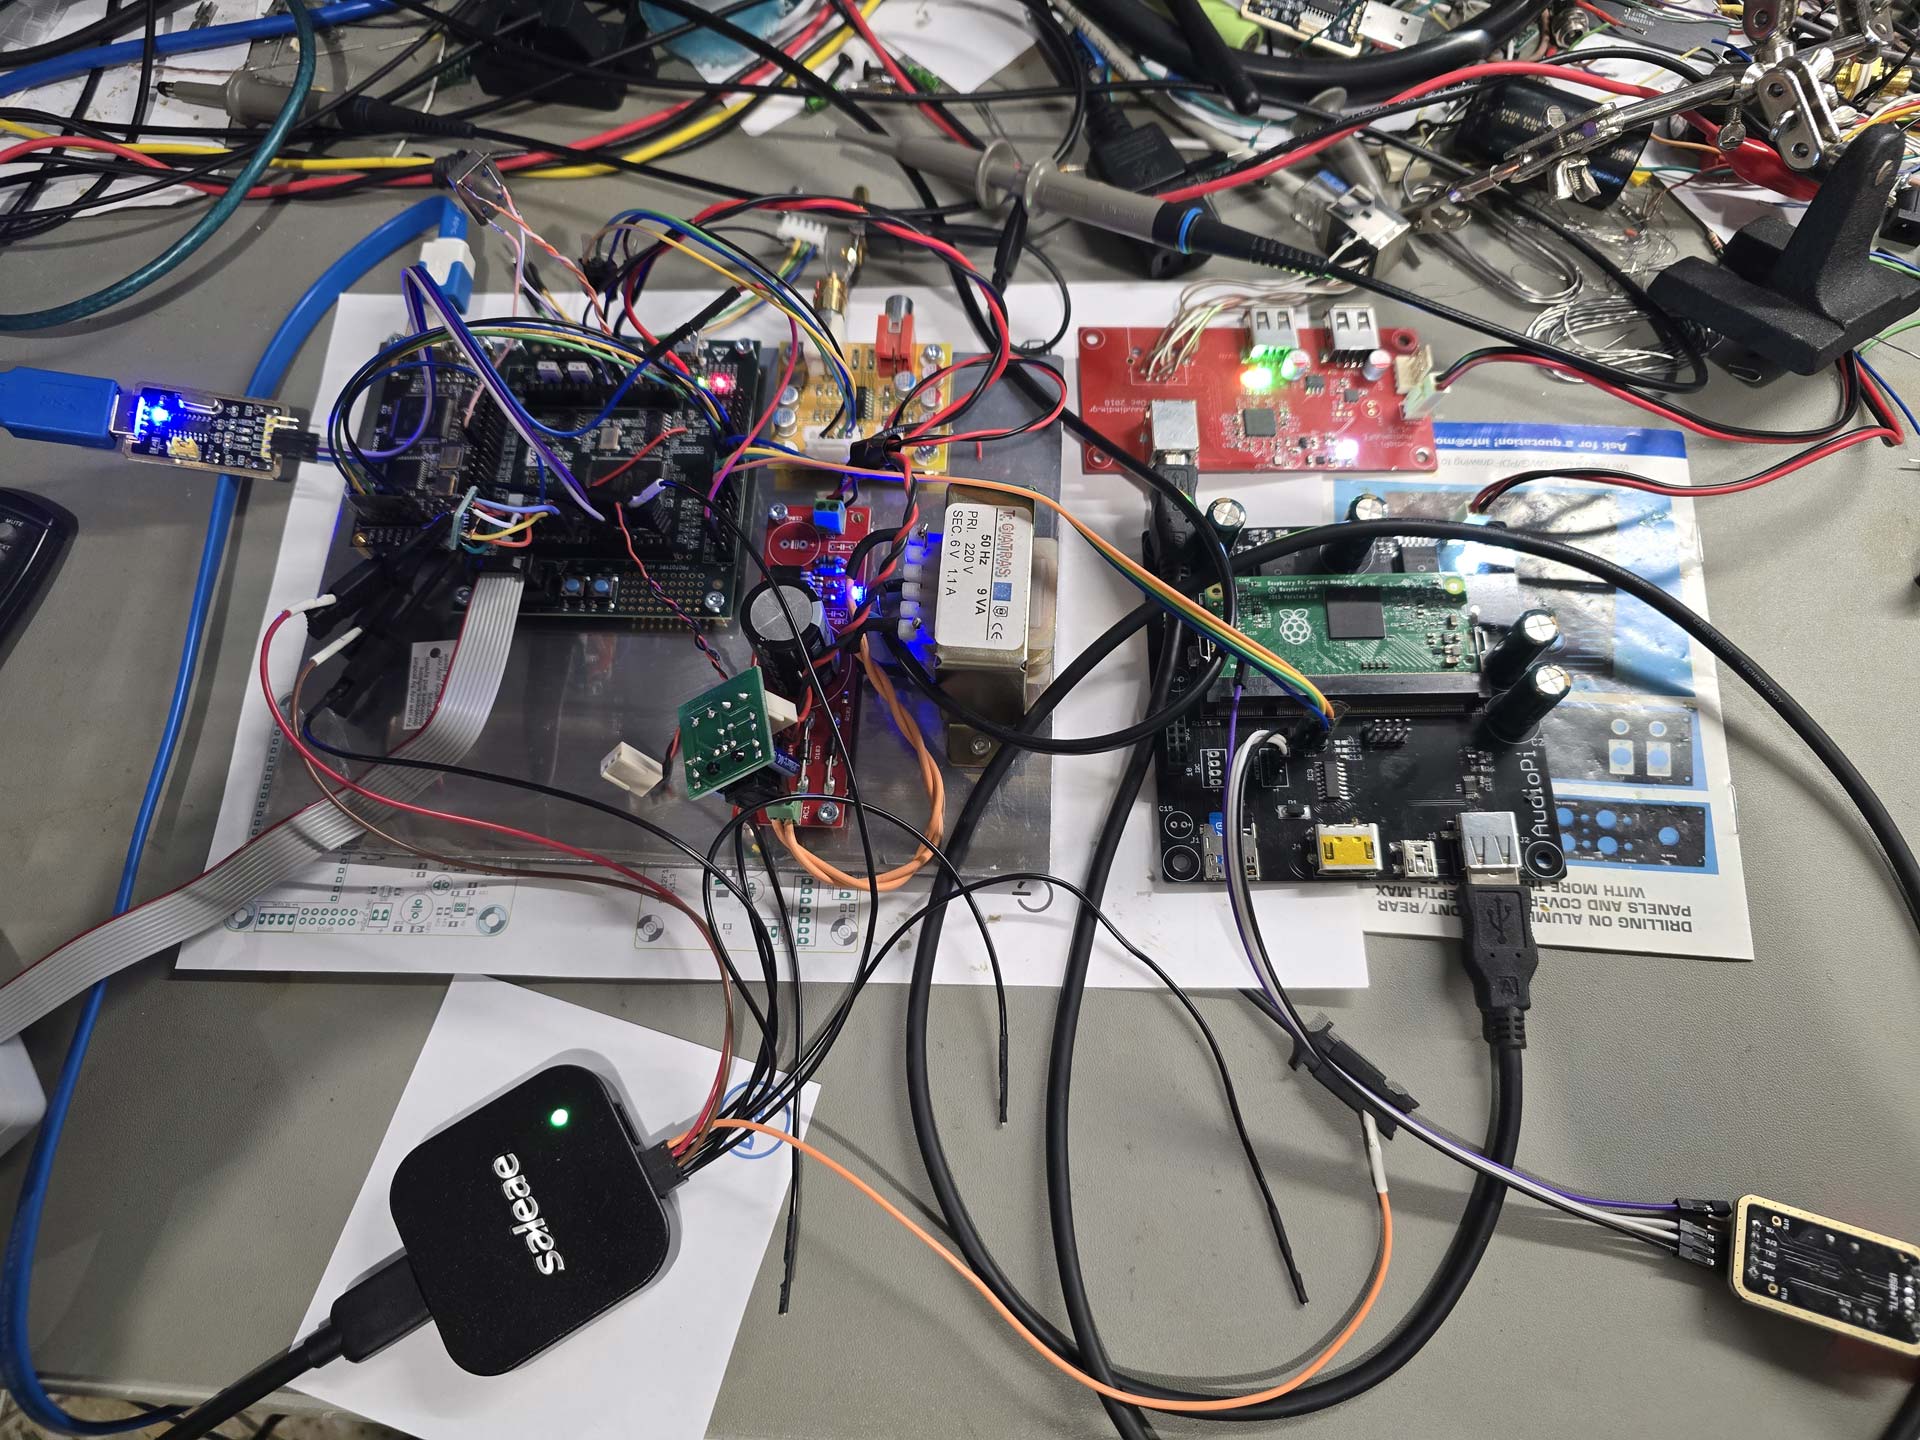
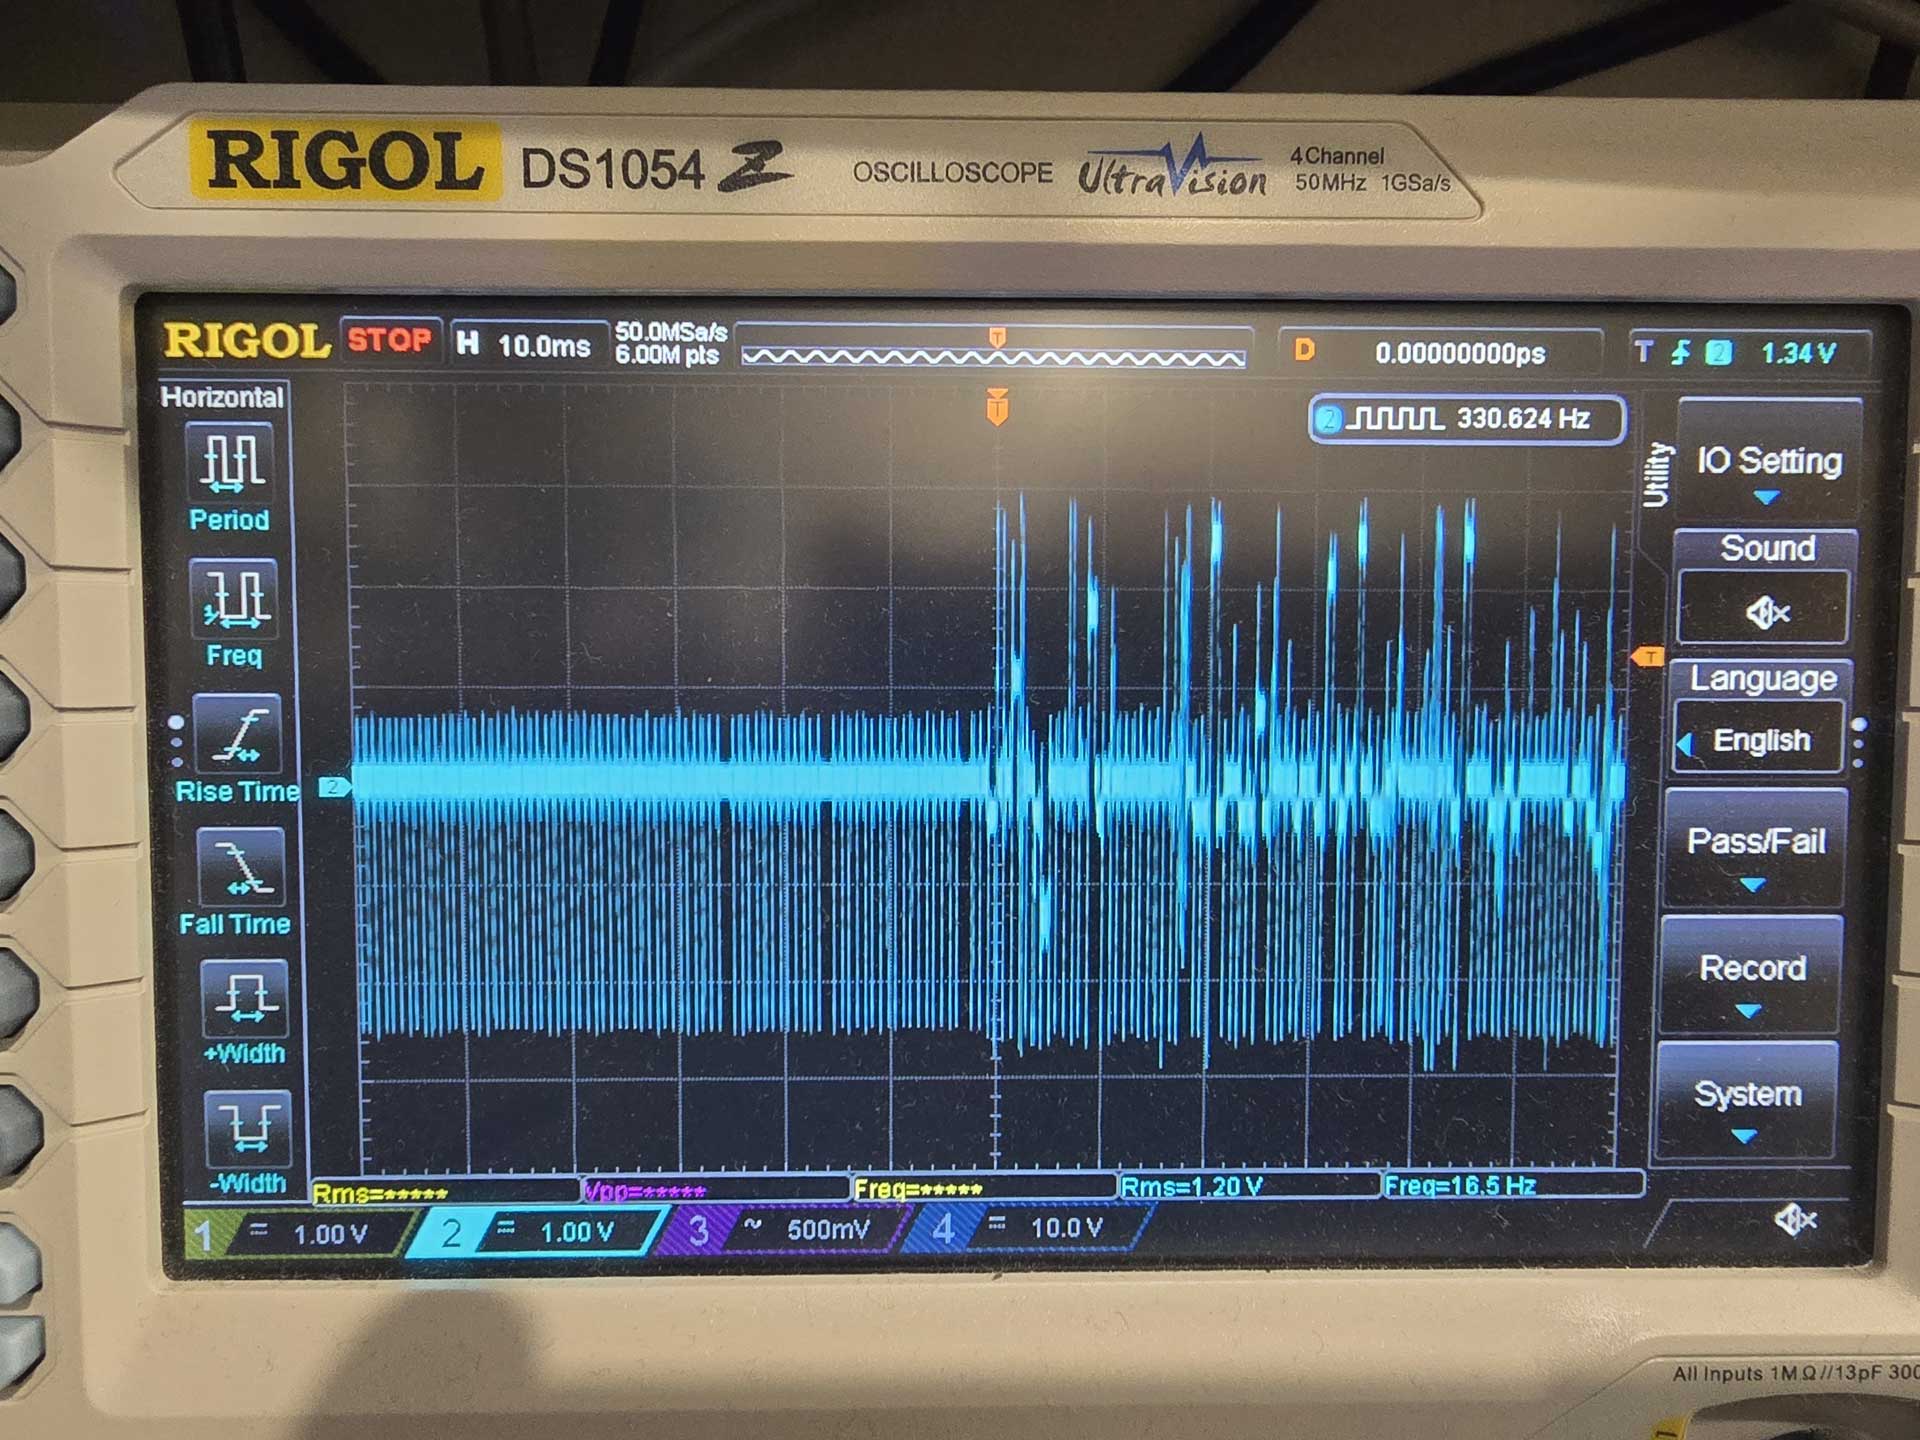 So I asked the AI to break down the FPGA architecture into smaller parts that could be tested individually. It congratulated me for my brilliant idea and did just that. So we wrote routines that checked the data in the PSRAM for corruption, using LEDs for diagnostics, using the UART to get a lot of debugging info, but still we only got so far. In the end I had to break out my Saleae logic analyzer and do some classic troubleshooting, injecting known signals and seeing what the code was doing to them. But that did the trick. Not before long my FPGA was successfully using my PSRAM as a 64Mb buffer, working bit-perfectly.
 So this is what I’ve been up to for the last 20 days or so.
It was fascinating to realize exactly what FPGAs are capable of. For example, the realization that the building blocks that I was creating all worked essentially in parallel, and that there was no such thing as “CPU time”, being shared among components, was a revelation. The deterministic nature of these devices. A signal of certain specifications will always be processed at the same speed, no matter how complicated I make the rest of the project. I can simply add modules that “tap” into the same signal and do things, with no consequences to my initial signal processing.
I must say that this was the most fun I have had with a “new technology” for a really long time. It was extremely rewarding to realize that a project of such complexity can indeed be “vibe coded”. Even though I did learn some Verilog in the end. Not because I had to, because I wanted to.
So, can anybody just get an evaluation board and end up with a working FIFO reclocker?
It will depend on your working knowledge of DAC architectures.
You will need to describe to the AI what you need to accomplish, and guide it step by step towards it. But you cannot just tell it to “make for me an FPGA that does FIFO buffering of I2S and DSD signals” and expect it to just do it. If you just give it a single prompt describing the entire thing that you have in mind, however much detail you can provide, it is 100% certain that it will not work, and you will have a nightmare of a time figuring out exactly what is not working.
So it will be a process.
But if you persevere, and you have a logic analyzer on hand, you will eventually succeed, like I did.
 Next step for me will be to design a custom PCB for the FPGA and the necessary reclocking stage that has to follow it.
And while I am waiting for the PCB fab I will tackle the upsampling and digital filtering code.
There is enormous potential here.
PS. Absolutely no AI was used for this writeup. Unlike the FPGA coding.