It took me a while to get to it, but I finally managed to perform the Vref mod on my Soekris.
I opted for a variation on the “factory mod” with larger organic polymer capacitors.
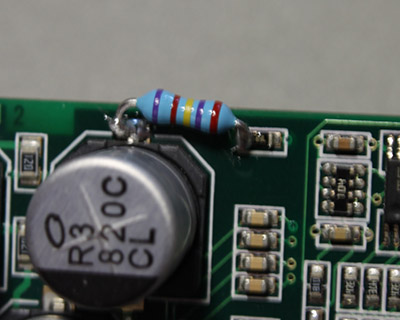
But before I get to the actual modding, I’d like you to take a minute to appreciate just how small a 0603 part really is. This is a 0603 resistor compared to a regular 1/4W resisitor. It is that small.

I would not recommend to anyone to attempt this mod without some form of magnification. I used a run-of-the-mill magnifying glass with good results, but it would have been nicer (on my eyes) if I had a proper microscope.
Also, it is crucial to have a soldering iron with a very fine tip, and by very fine I mean needle point. I use an Antex CS18 with a 0.12mm tip.
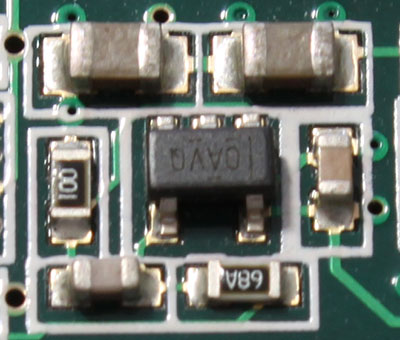
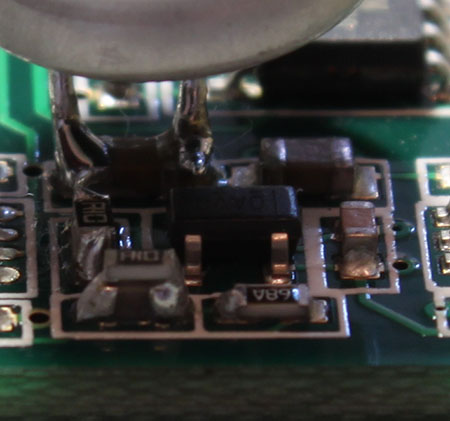
So, let’s get started. This is one of the “stock” Vref regulators:
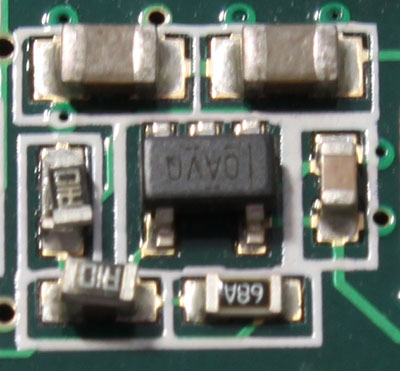
We plan on soldering these 0.1R resistors on top of the existing parts:
You should start by putting a little soldering paste on the existing solder joints. Do not skip this step – it will make your job a lot easier.
Then add some solder on one of the two joints of the existing part so as to tin it. Then place the new part on top of the existing part and heat the tinned joint while holding the new part in place with some forceps. I usually just press lightly on top of it to keep it in place. Use needle-point forceps.
Upon heating, the solder should melt and stick to the new part as well. Then go to the other side of the part and solder it.
Once the new part is secured in place I usually go back to the first joint and add some more solder, just to be sure.
Repeat this for all 8 resistors.
Then it was time to soldered on the capacitors. I had decided to go with the Nichicon NS 470μF / 10V parts. They sport 10mΩ ESR which is perfectly adequate.
I bent one of their leads so that it came closer to the other one, so close that the distance between them was exactly the length of the X5R capacitor they were meant to be soldered on. I then cut them to the proper length (a.k.a. as short as possible). I proceeded to tin both of their leads and then soldered them on top of the existing capacitors. It was a lot easier than soldering the 0603 resistors.
When I was done the Vref regulators looked like this:
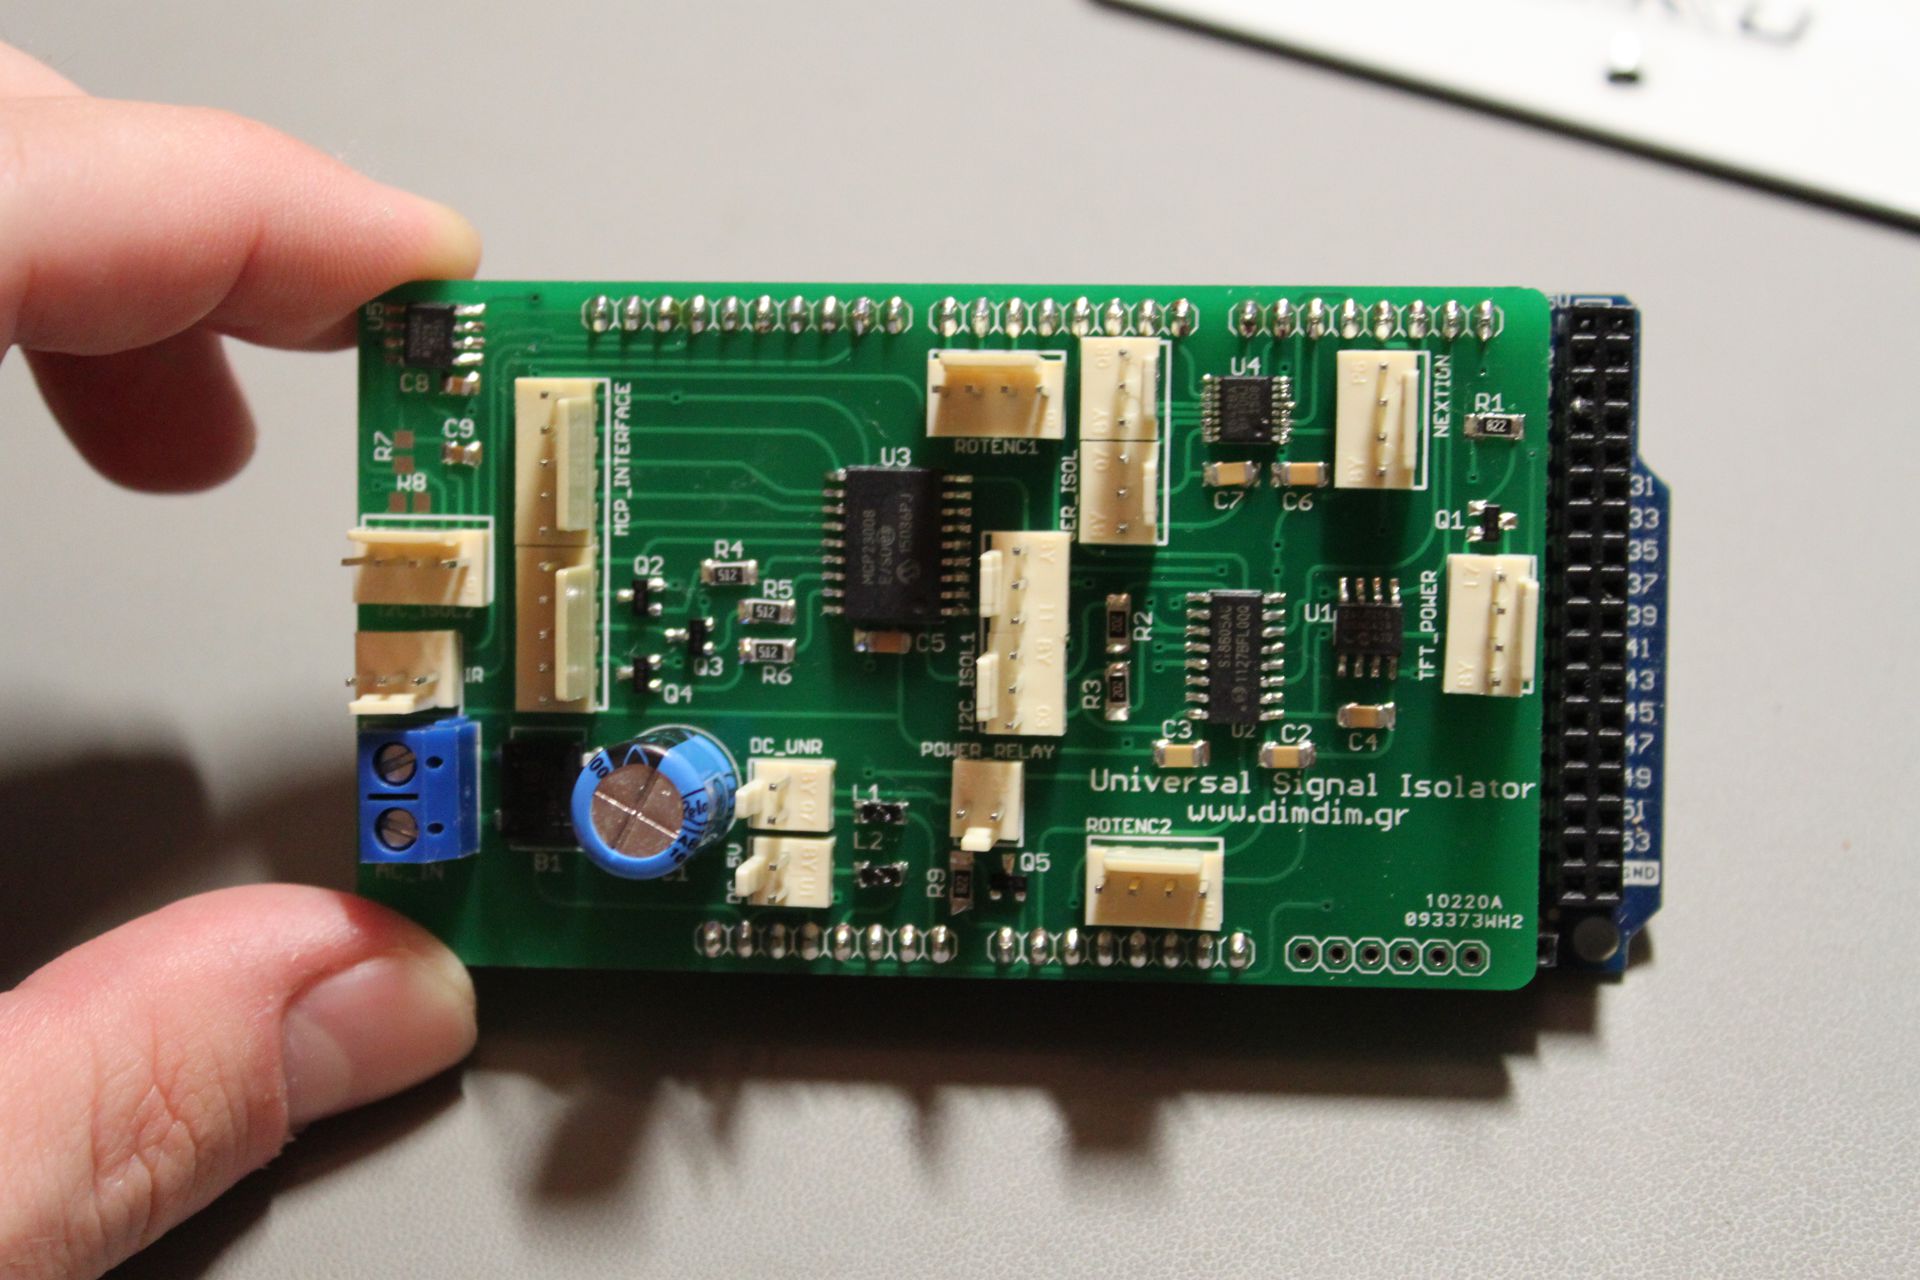
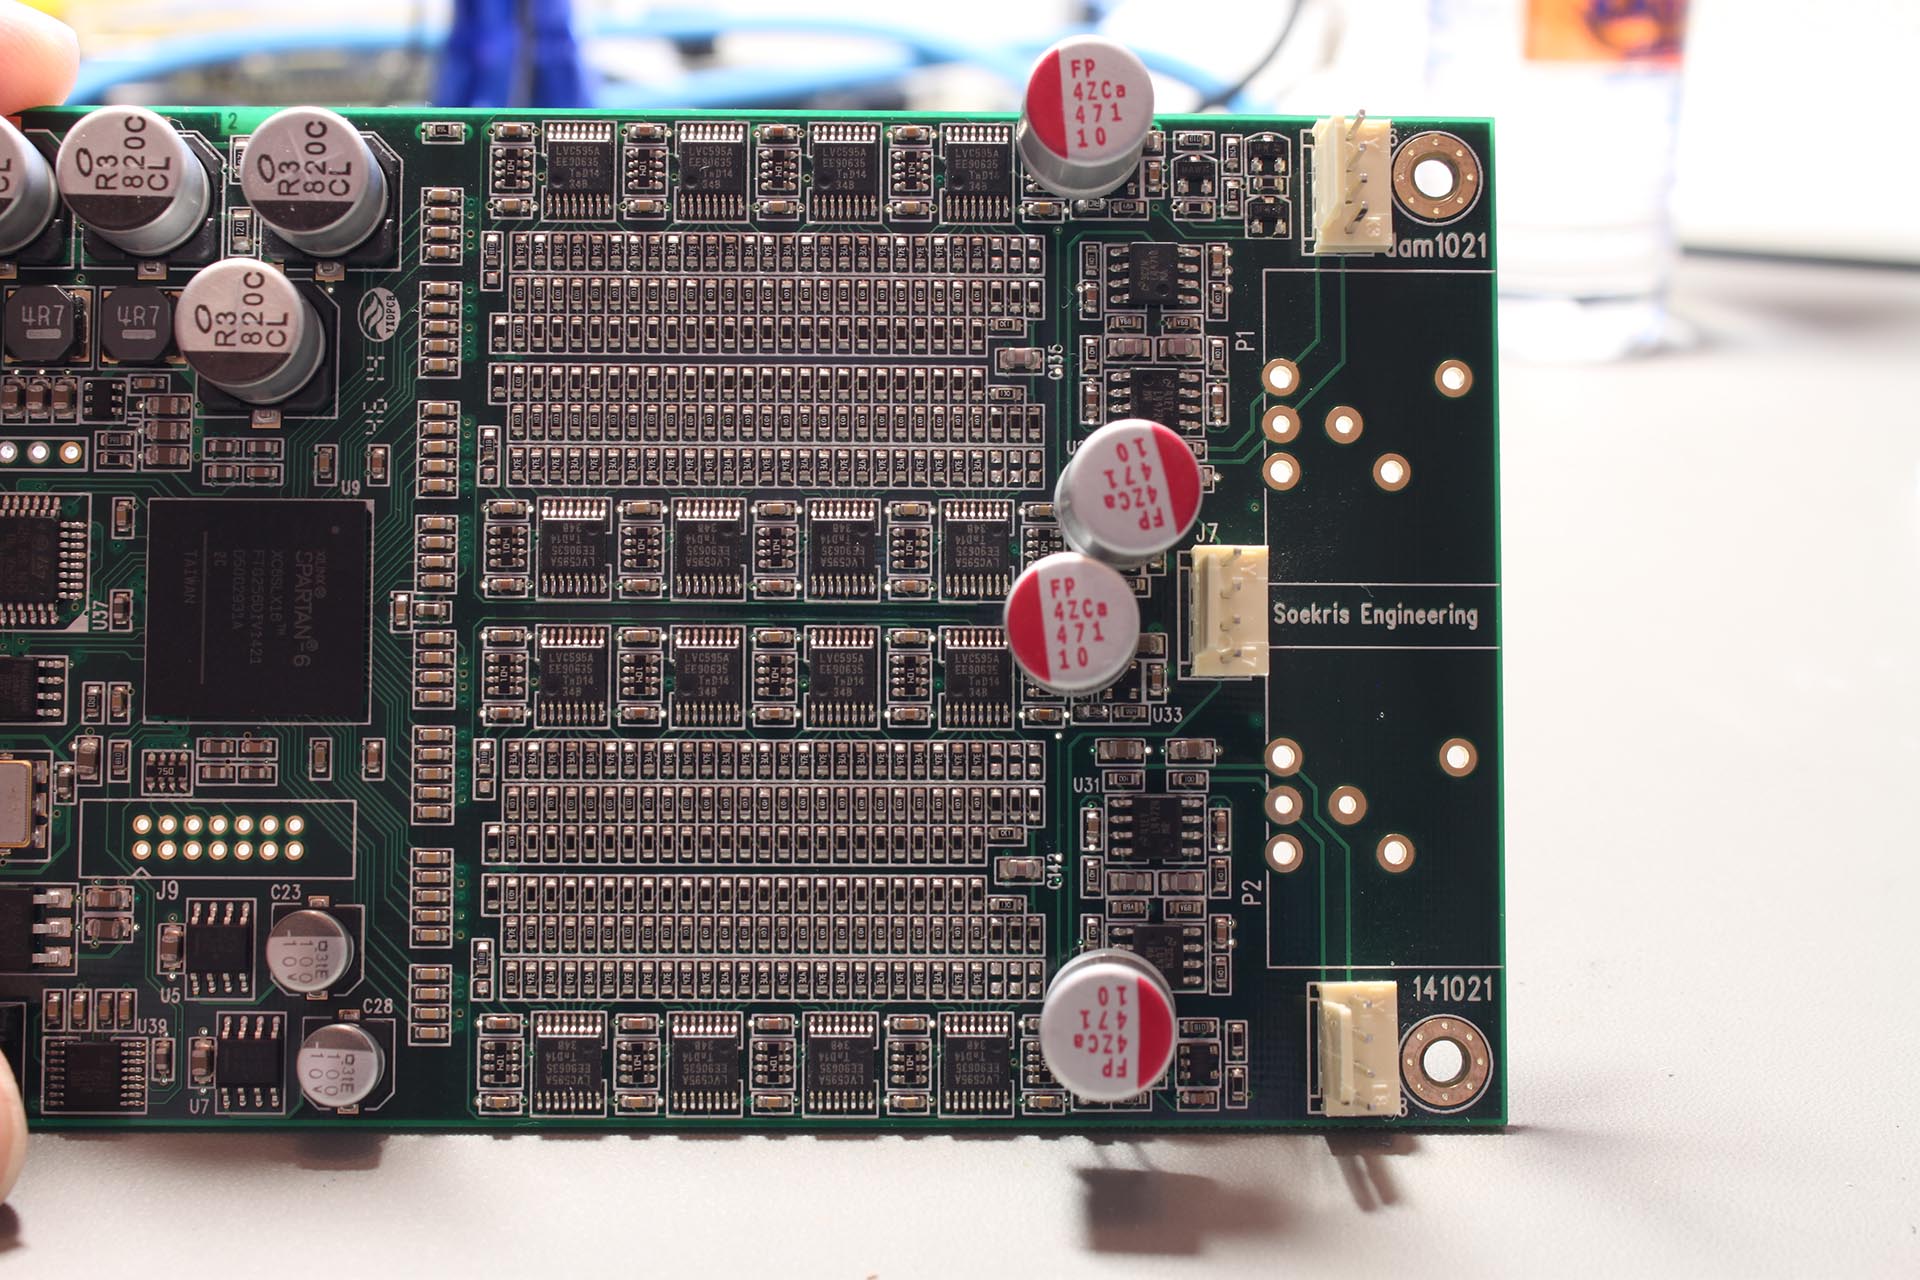
And the entire board now had the well-known “modded” look:
Since I had the board out and the soldering iron hot, I figured I would also do the “power thump” mod, by soldering a 27.1K resistor to the points designated by Soren:
The entire procedure took me a little over an hour.
Now I have to have a listen to see what’s changed..