The Raspberry Pi 4 Model B: Game changer for audio?

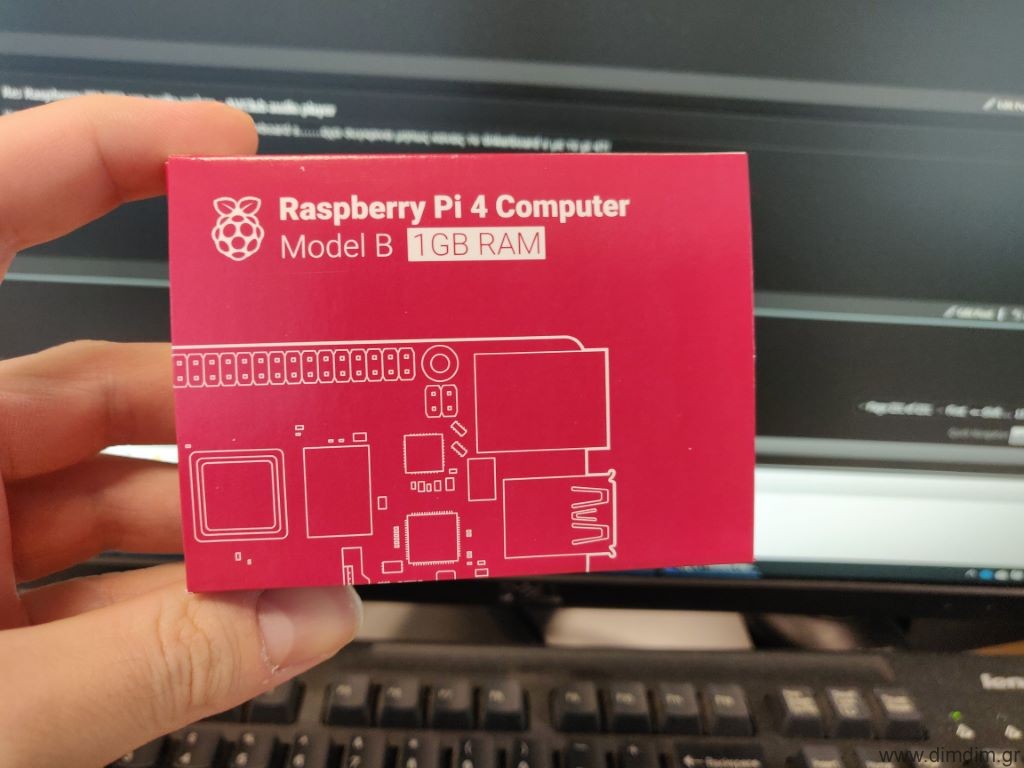
About a month ago the Raspberry Pi 4 was announced, pretty much blind-sighting everybody.

For the last (many) years, since the announcement of the RPi 2, we had been used to relatively minor incremental upgrades every time a new RPi came out.

Usually the new processor was a bit faster, we got WiFi and BT, then better WiFi, then faster (almost) GbE network, etc. But until now, all of these connectivity options had to be accommodated by a single USB 2.0 port on the SoC.

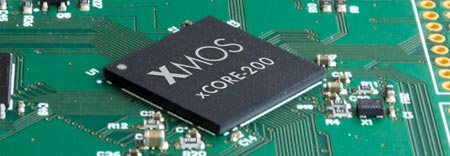
But this year everything changed. We got a new SoC (the BCM2711), one that finally supported an RGMII interface for a true GbE port, plus a PCI Express port that is used to give USB 3.0 & 2.0 connectivity at useful speeds.

We also got more processing speed and more RAM options, up to 4GB of fast LPDDR4 memory, dual HDMI outputs, etc.

So, all of the above specs mean that the RPi is definitely faster and more capable than ever as a desktop replacement. But is it indeed a better audio streamer for us audiophiles?

For starters, it’s been almost a month since its announcement and availability (I got my unit delivered just 3 days after its announcement) and AFAIK the well-known audio distributions do not yet support it.

Then there is the increased system complexity and power consumption that comes with the new architecture. More power consumption and more ICs usually mean more noise. More noise is never good news for audio.

So I had to do some testing. The idea was to compare the RPi 3 that I had for a couple of years now to the RPi 4.

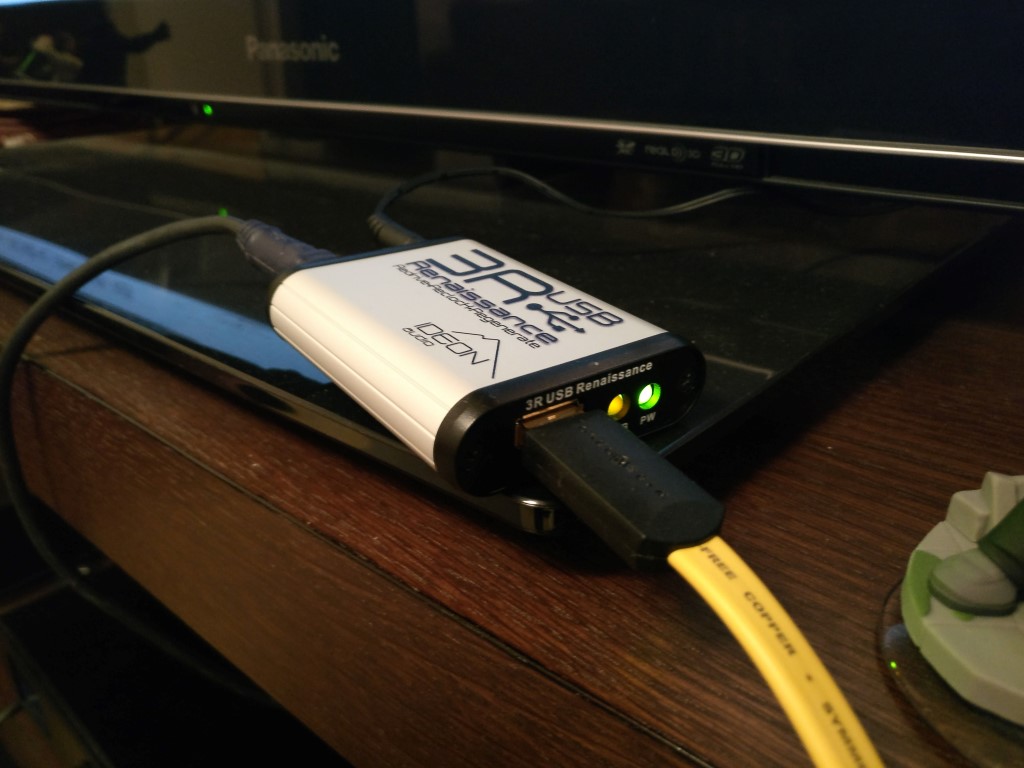
To keep the playing field as level as possible both of them were running the exact same software (Raspbian Buster Lite, since ATM that is pretty much the only OS that supports both of the platforms) with MPD loaded and were powered by the same (excellent) Salas L-Adapter power supply.

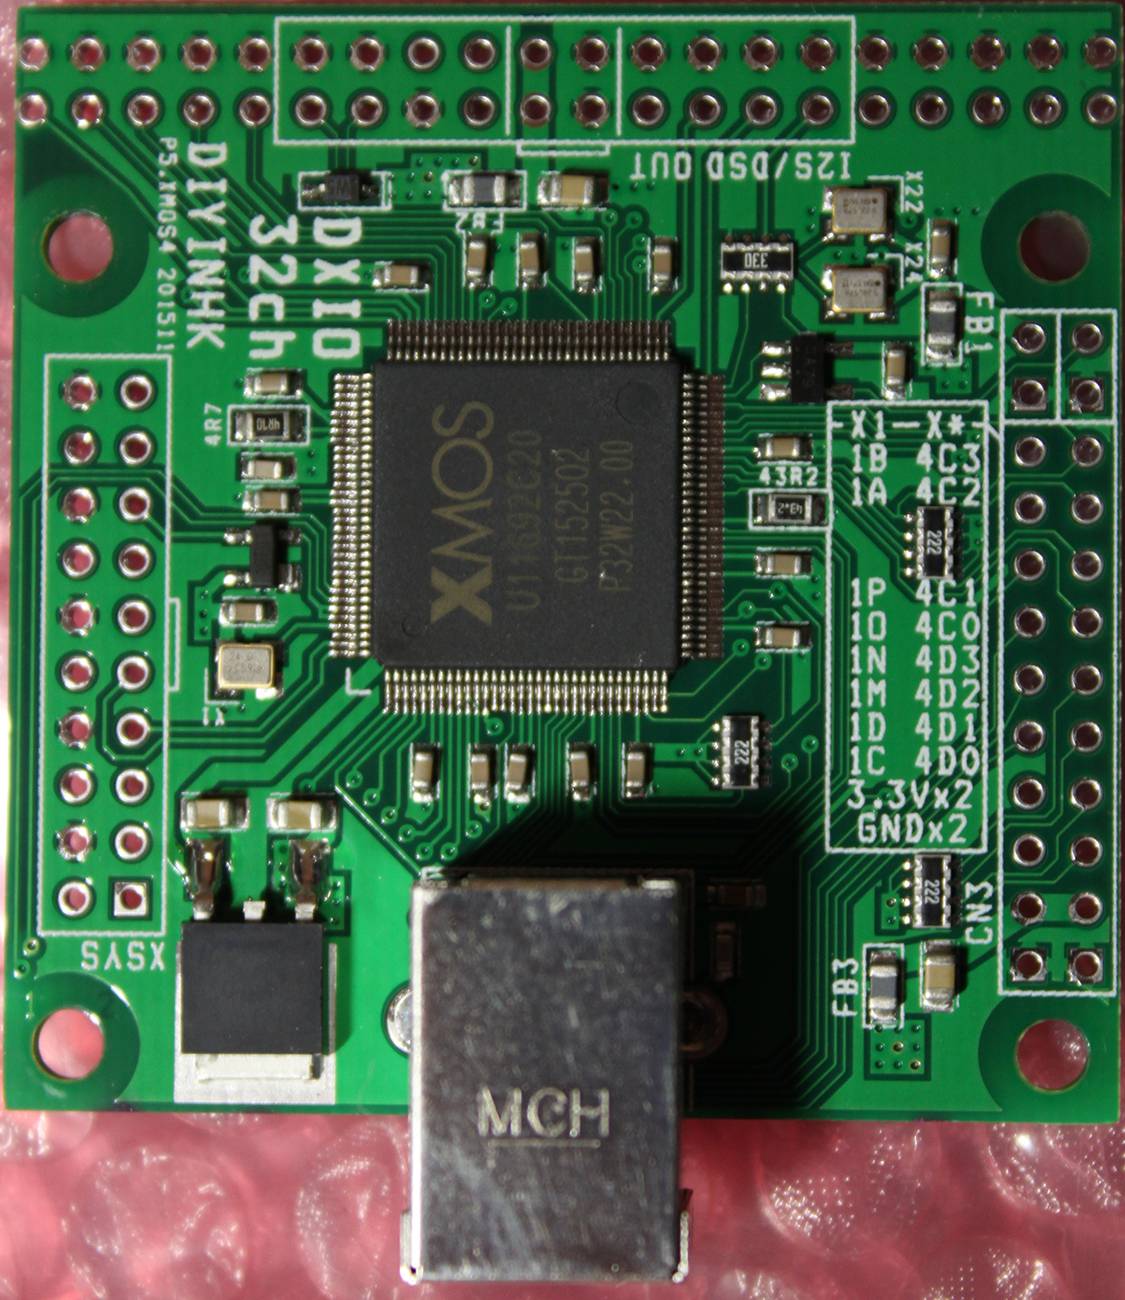
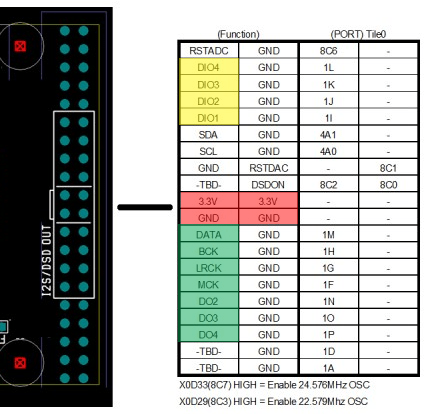
Connection to my DAC (DIY dual AK4493, very detailed) was through USB 2.0.

The music streamed from a NAS box over Ethernet.

I had a friend over in order to at least try to have a bigger sample size (of ears).

The music used was a handful of tracks that we always use for such comparisons (well known material).

We listened using the RPi3, then shut it down and booted up the RPi4, listening to the same material.

Much to our surprise, we actually preferred the sound of the RPi3!

The RPi4’s presentation had something of a “fatiguing” effect. The sound was a bit more “coarse” that that of the RPi3.

We are not talking about big differences here, but they were there. Note that my system is pretty resolving, every change to any component is audible, so YMMV.

I’m not saying that my (our) results are 100% conclusive, but in any case it seems like I’ll be going ahead with my “Audio Pi” project after all (I was considering waiting for the Compute Module 4 to come out).

Ideon Audio 3R USB Renaissance

OK, so this small Greek company comes up with a USB regenerator gadget targeted towards audiophiles.

They claim that it improves audio dramatically. It uncovers lost detail, enhances dynamics, etc.

We’ve heard all that hi-end mumbo-jumbo before, right?

Problem is, this time the gadget actually works. I didn’t believe it either until yesterday, when I was invited to a friend’s house. Also invited were a couple of friends and this little guy:

It was accompanied by its designer, Vasilis of Ideon Audio. Mind you, this is the same Vasilis that is behind the Mamboberry DACs.
I’ve known Vasilis for the better part of 10 years now. We have exchanged some pretty sharp remarks over the years, in regards to our shared hobby, but this time I must admit that he’s really on to something.

The 3R contains a TI chip with a low jitter clock and a bunch of LDOs. It is powered by an SMPS wall-wart (rumor has it that it works even better powered by a linear power supply).
What happens is that the 3R is detected by the PC as a USB device which essentially passes-through the DAC that it is connected to. It works like a USB hub – it’s an active device but it needs no drivers.
It works its magic by regenerating the USB signal using its own low jitter clock and low noise LDO regulators.

The end result is that the DAC manages to literally extract more detail from the music stream, be it from a PC or a Mac based transfort. It doesn’t matter what your DAC is – it will make a positive difference. We tested it with a Buffalo III dac (Amanero as receiver with no isolation) and with an Aune S16 (XMOS receiver, isolation, and FPGA doing FIFO and reclocking). In all cases, introducing the 3R into the chain made for better bass definition, more resolution, and better sound stage.

This is some upsetting stuff. This made me feel the same way I felt a few weeks back when I was auditioning Salas’ system and I could hear audible differences when we changed Foobar’s buffer length from 400ms to 1000ms. This shouldn’t happen, but it does.

I don’t know.. Perhaps this is a sign that I should switch to another hobby.

In conclusion, here is a picture of Darth Vader on the 3R:

If you have a half-decent USB dac and you’re serious about audio reproduction (a.k.a. you’ve already invested in a good sound system) you should get one. Not Darth Vader, the 3R.

DIYINHK XMOS Multichannel 32ch USB to/from I2S/DSD SPDIF Interface

About a month ago DIYINHK released a USB to I2S interface board based on the brand new and all-powerful XMOS xCORE-200 chip.

xcore-200-microcontroller
cXU216[1]

The specific chip used by DIYINHK is the middle-of-the-line XU216-512 which corresponds to some pretty serious horsepower: 16 logical cores for a total of 2000 MIPS, 512KB SRAM, 2MB FLASH.

IMG_0622_res

So, what can we do with all this horsepower you say? It’s simple. Tons of channels of high-resolution audio. Plus I2S inputs, besides the usual outputs. Plus DSD1024. Plus use a cool OLED display as a VU meter.

The board I bought came with the default firmware, which supports:

  • 6 channel 384kHz I2S output
  • 4 channel 384kHz I2S input
  • spdif output
  • OLED VU meter
  • Volume up/down control button

Here is a video of it in action:

A maximum 32 channels can be supported with the right firmware (not provided by DIYINHK).

DIYINHK XMOS multi 1
DIYINHK XMOS multi 2

The board (a 4-layer design, btw) comes with three high quality NDK NZ2520SD Ultra low phase noise oscillators. There is provision for powering two of the oscillators externally, by removing a ferrite bead and applying power through one of the headers.

The board is not USB powered. It needs a relatively beefy 3.3V power supply, capable of providing a maximum of 800mA (even though a typical power consumption is in the neighborhood of 570mA). Beware, a weak power supply or an inadequate connector will cause to board to not power up.

It comes with a fully featured Thesycon driver for Windows. Linux & Mac OS don’t need a driver.

An interesting detail is that the Windows 10 driver that is available only supports stereo operation and no multichannel (v2.26). If you want multichannel you’ll have to go back to Windows 7 (v1.67) (or perhaps Linux or Mac OS, it isn’t clear..).

DIYINHK’s site says that the latest available driver is v2.26, but I did not find such a driver in their downloads section, so I emailed them about it. They sent me a link for an even newer driver, v3.20.

DIYINHK XMOS Driver 3.20 1
DIYINHK XMOS Driver 3.20 2
DIYINHK XMOS Driver 3.20 3
DIYINHK XMOS Driver 3.20 4
The board has a ton of exposed I/O, split into three 0.1″ headers. These are the pinouts, according to DIYINHK:

xmos-multichannel-high-quality-usb-tofrom-i2sdsd-spdif-pcb

Now, if these pinouts look somewhat cryptic to you, you are not alone. I will try to clarify things a bit.

This is the most interesting header:

Header 1

I have marked in red the power supply input. It is a good idea to use all of the pins for making the connections, since ~800mA is nothing to sneeze at.

The pins in green are the I2S outputs. For 2 channel operation you will need to connect the DATA, BCK & LRCK pins. The rest of the output channels should be available at pins DO2, DO3 and DO4. I say “should” because I haven’t tested them. I should repeat that multichannel operation with the provided driver is only possible at the moment with Windows 7 (and possibly Linux & Mac OS).

The pins in yellow are the I2S DATA inputs. For 2 channel operation you will need to connect the DIO1, BCK & LRCK pins. The rest of the input channels should be pins DIO2, DIO3 and DIO4. The same multichannel restrictions I mentioned above apply to the I2S inputs.

The OLED screen is connected to one of the side headers, like this:

xmos-multichannel-high-quality-usb-tofrom-i2sdsd-spdif-pcb (3)

DIYINHK XMOS OLED IMG_0636 (Medium)

The left header is the XSYS connector for uploading firmware to the XMOS.

Next up: connecting it to my PCM4222 EVM ADC board.

Soekris DAM1021 s/pdif Inputs Board

I made a little s/pdif input board for my Soekris:

2015-12-05 16.41.34 (Large)

It has a coax input, two Toslink, and it includes a USB-to-serial adapter so as to facilitate easy update of the DAM’s firmware.

It also has an on-board low noise LDO for the Toslink modules and their switch, plus one more LDO for supplying the 1.2V necessary for the coax port.

More info to follow..